Linda’s kind patience in allowing me to slip several projects for other folks in front of her sewing cabinet finally paid off. Made of birch plywood and maple trim, with a sewing machine lift and eight storage drawers, the sewing cabinet was immediately pressed into service making face masks for family, friends and local healthcare workers.
Fully open, this cabinet design has a lot of work area, even including a left top drawer that extends the surface. With the sewing machine lift in its lowered position, the cabinet folds up into a compact unit that can be wheeled anywhere in the room.

Every cabinet project starts with a trip to Chelsea Lumber!

Dry fit of a few panels

Varnishing inside panels before assembly


Panels with drawer runners already mounted

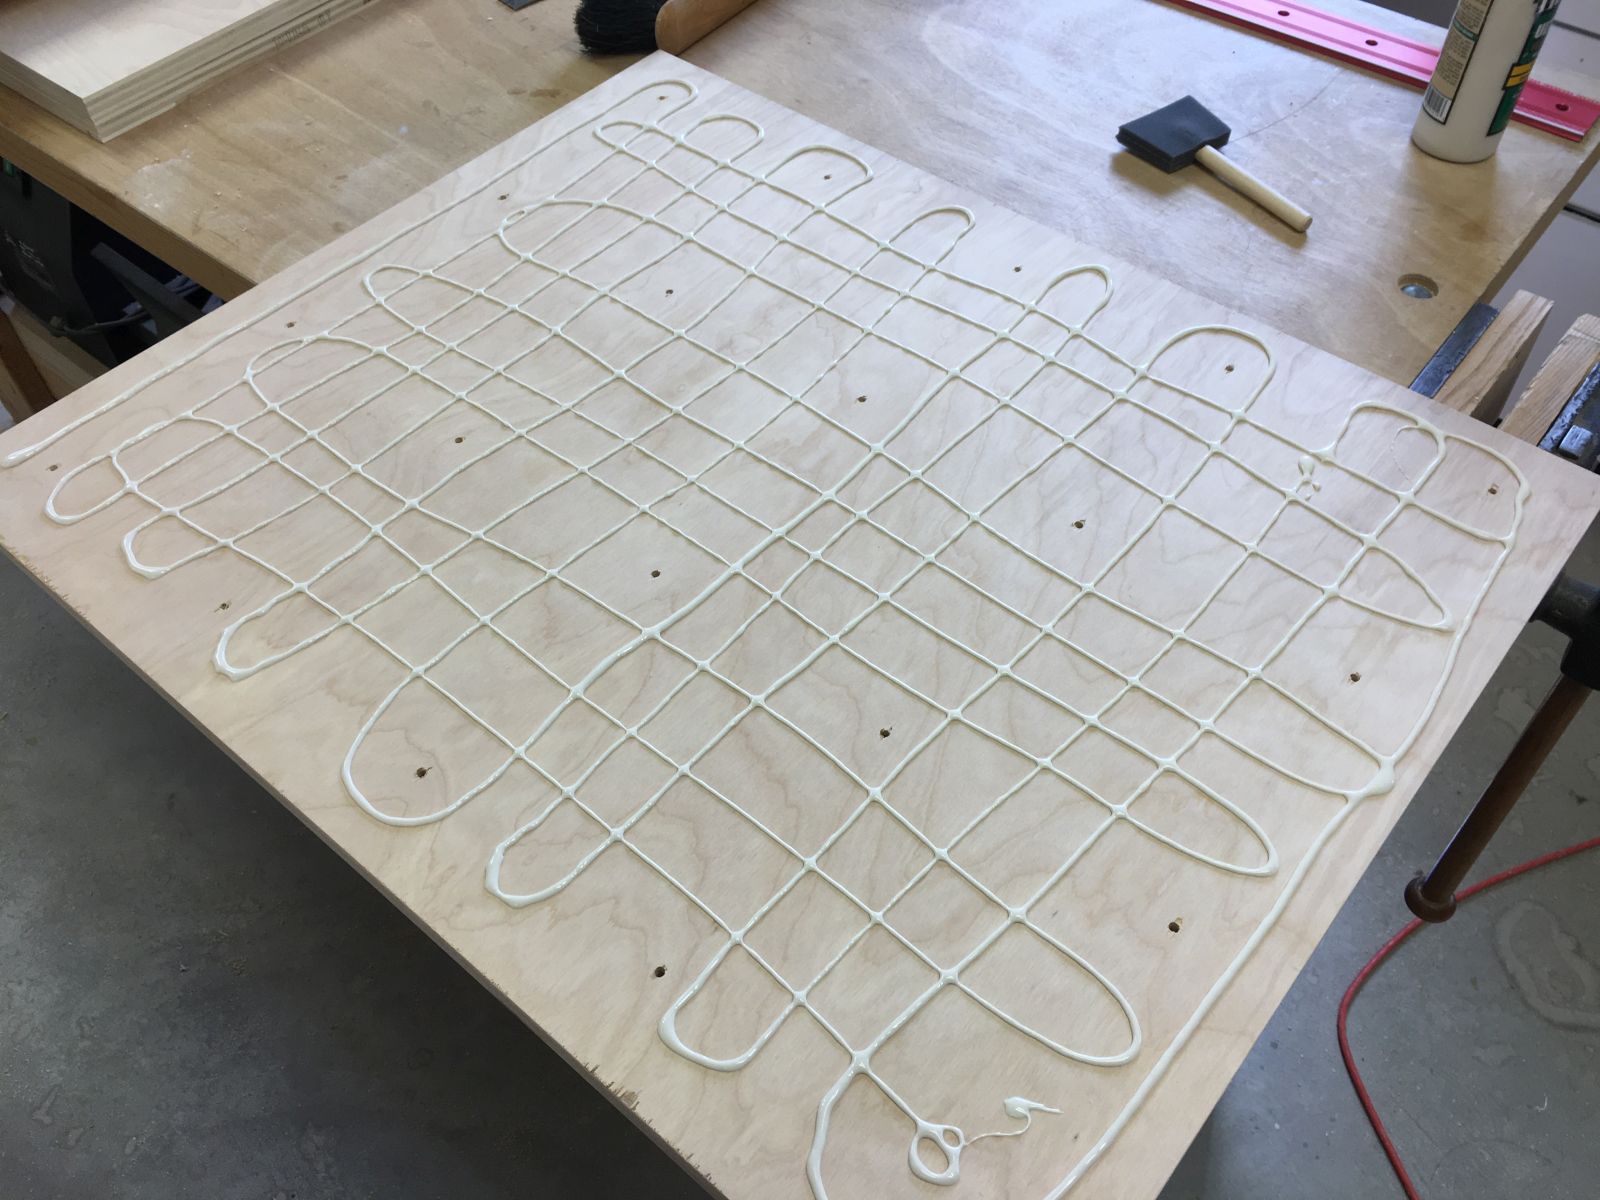
Basic case assembly

Bottom panel assembly

Varnishing bottom panel before mounting casters
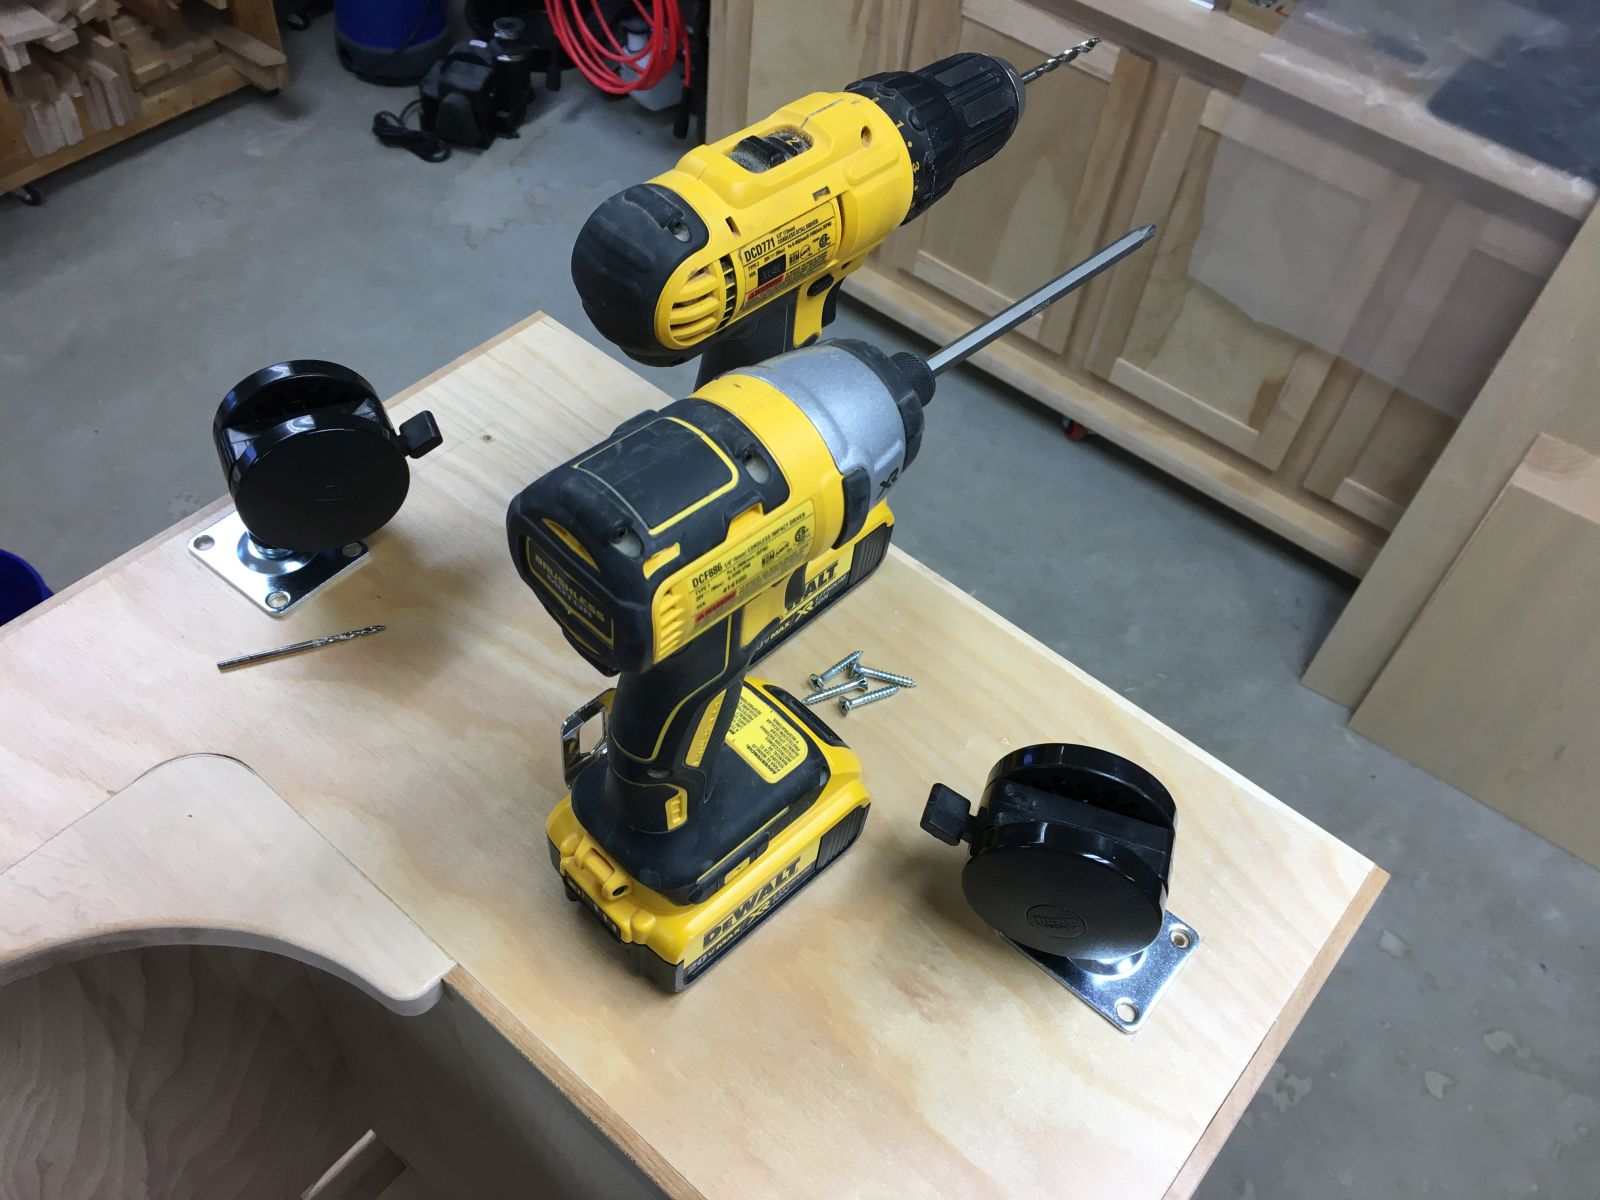

Basic case complete with casters

Making maple cove molding

The back panel was built up with three layers of plywood

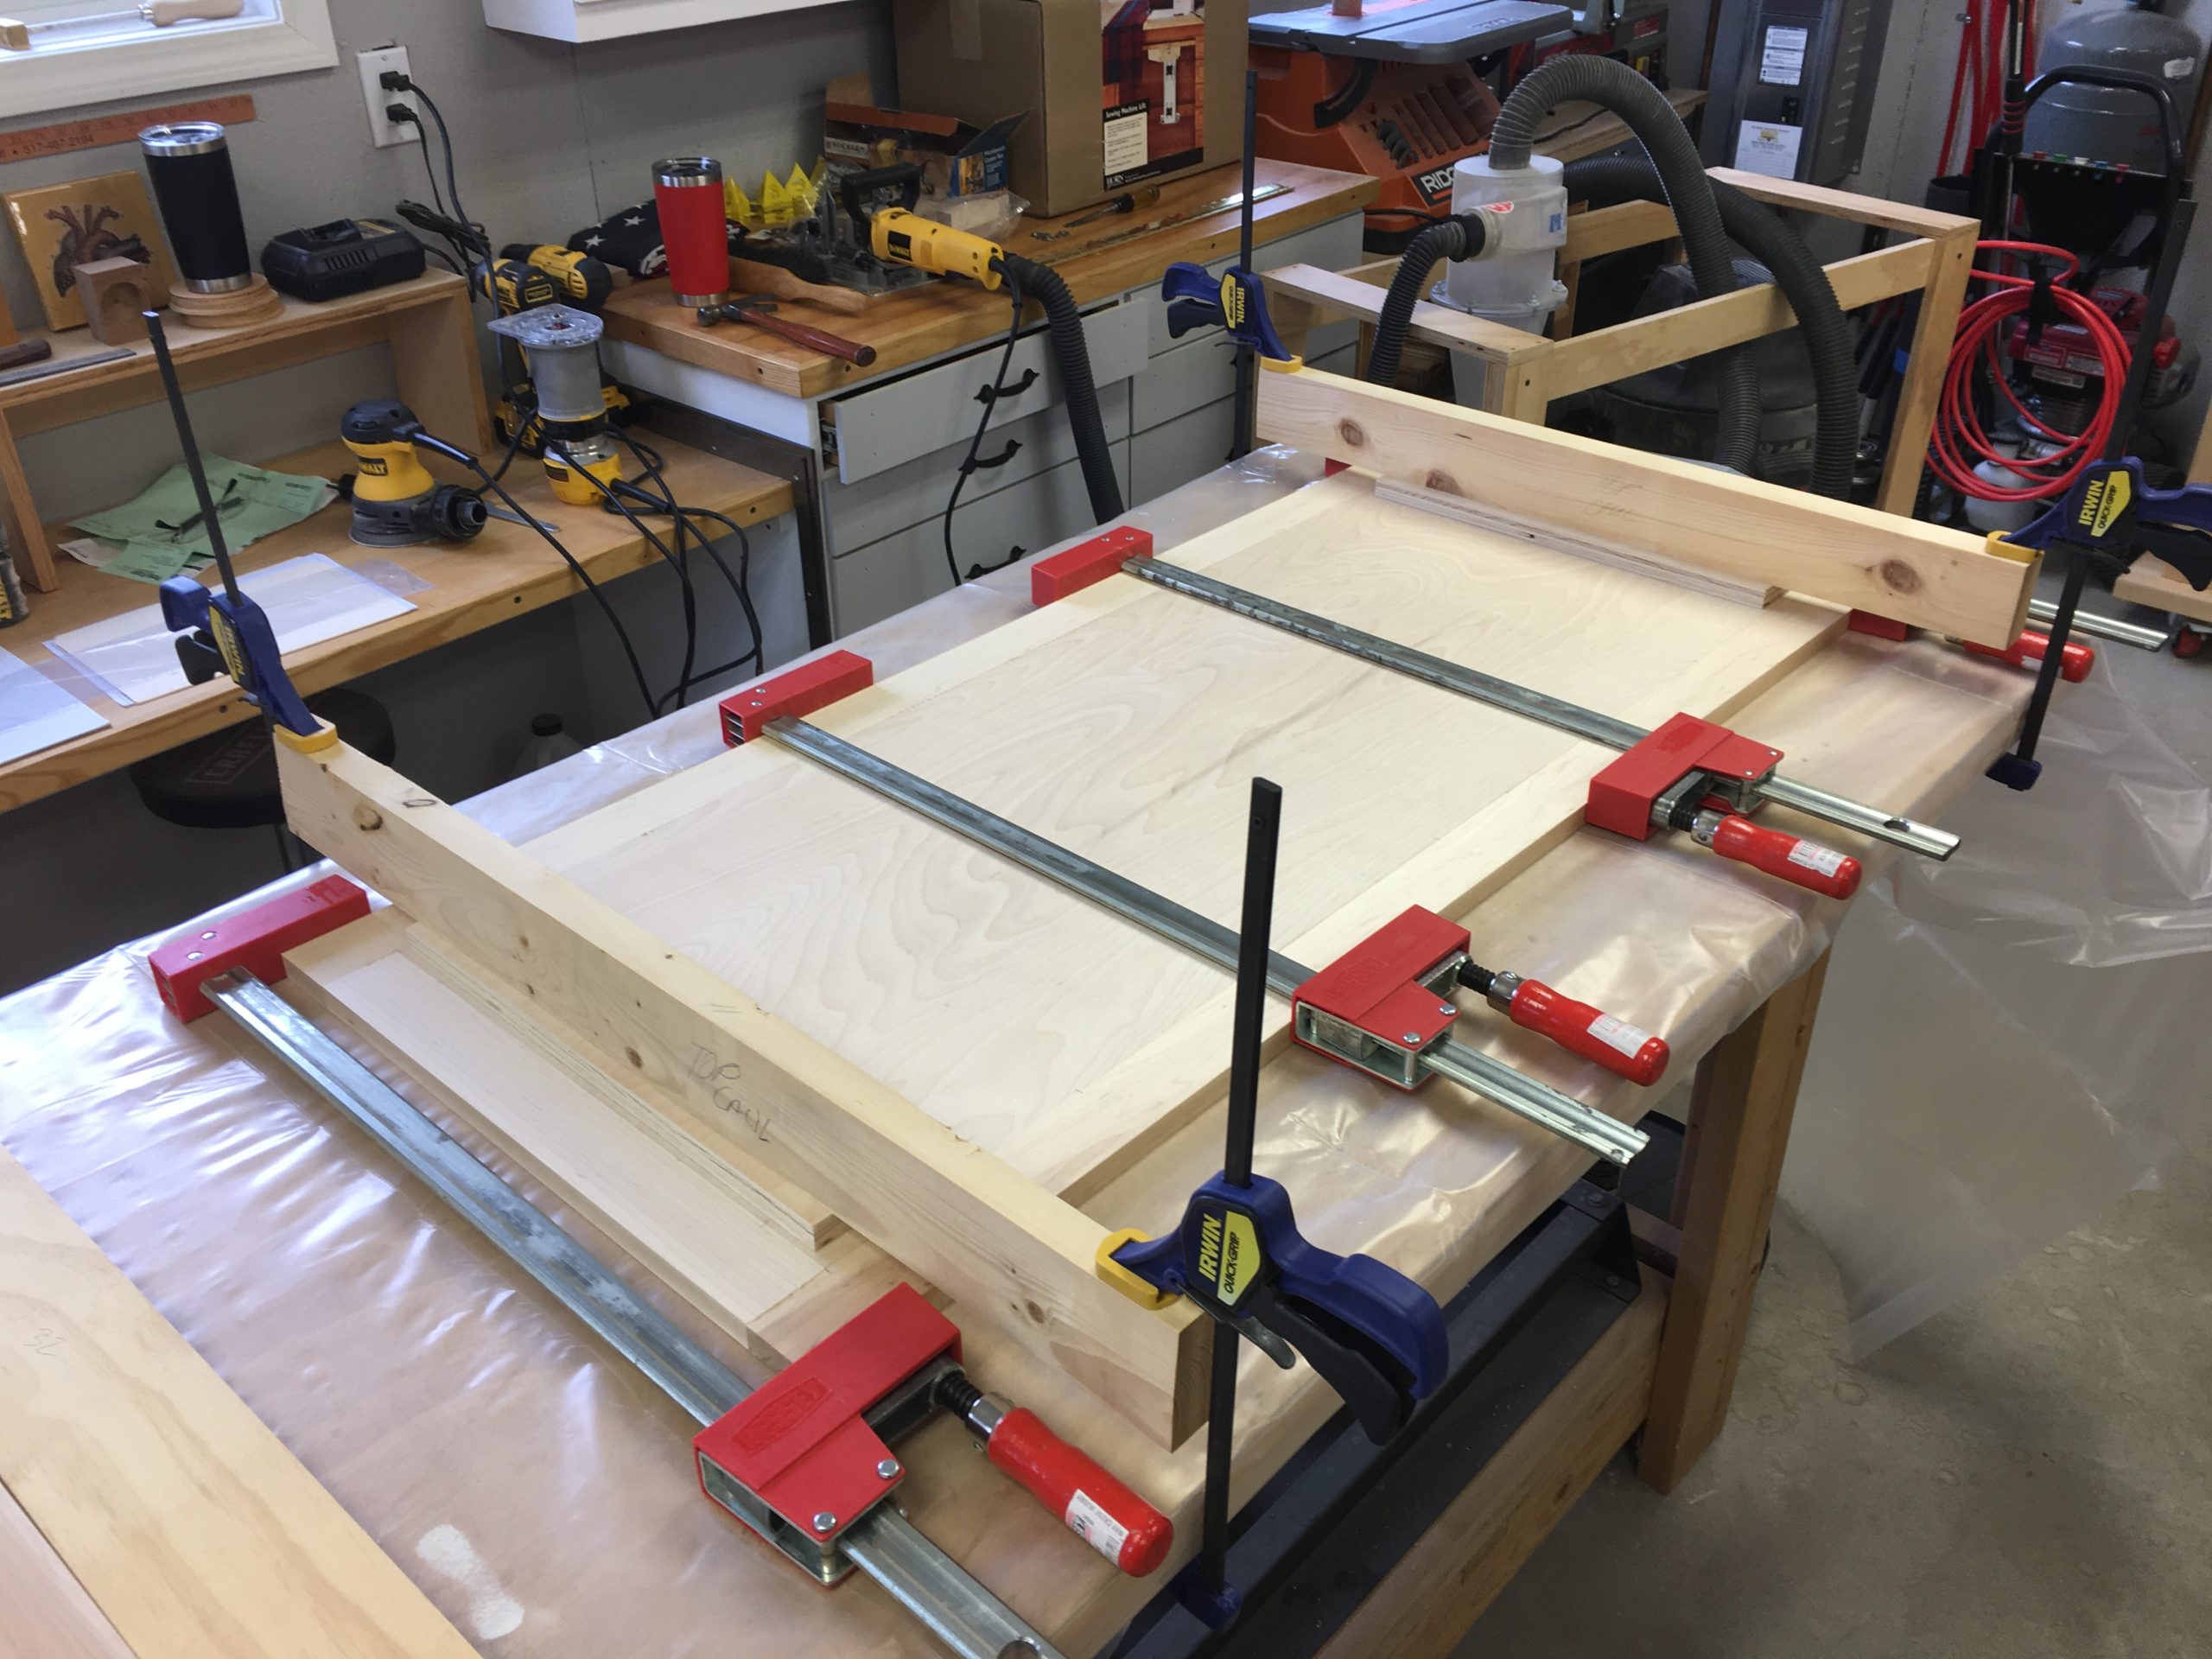
Apron installation

Cutting tenons on door parts

Panel doors ready for assembly

Panel doors to support the open lid

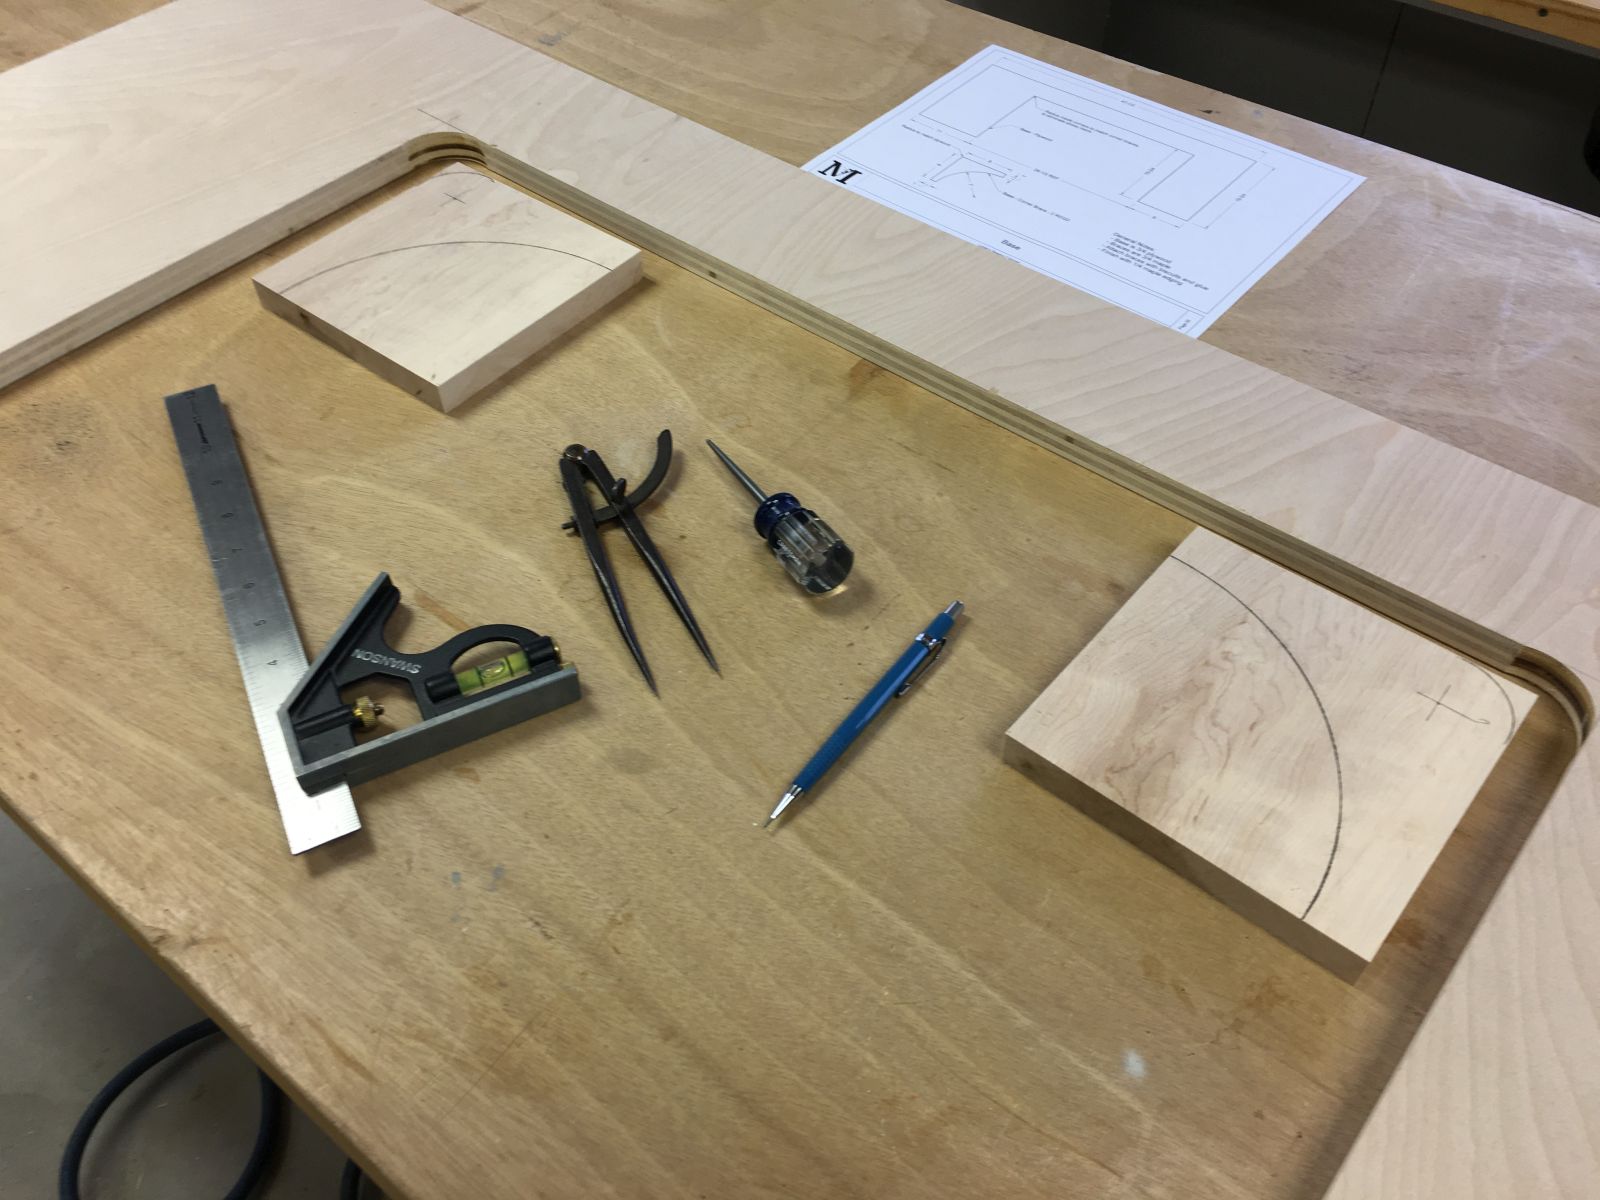
Pattern for insert opening temporarily attached with painters tape and CA glue

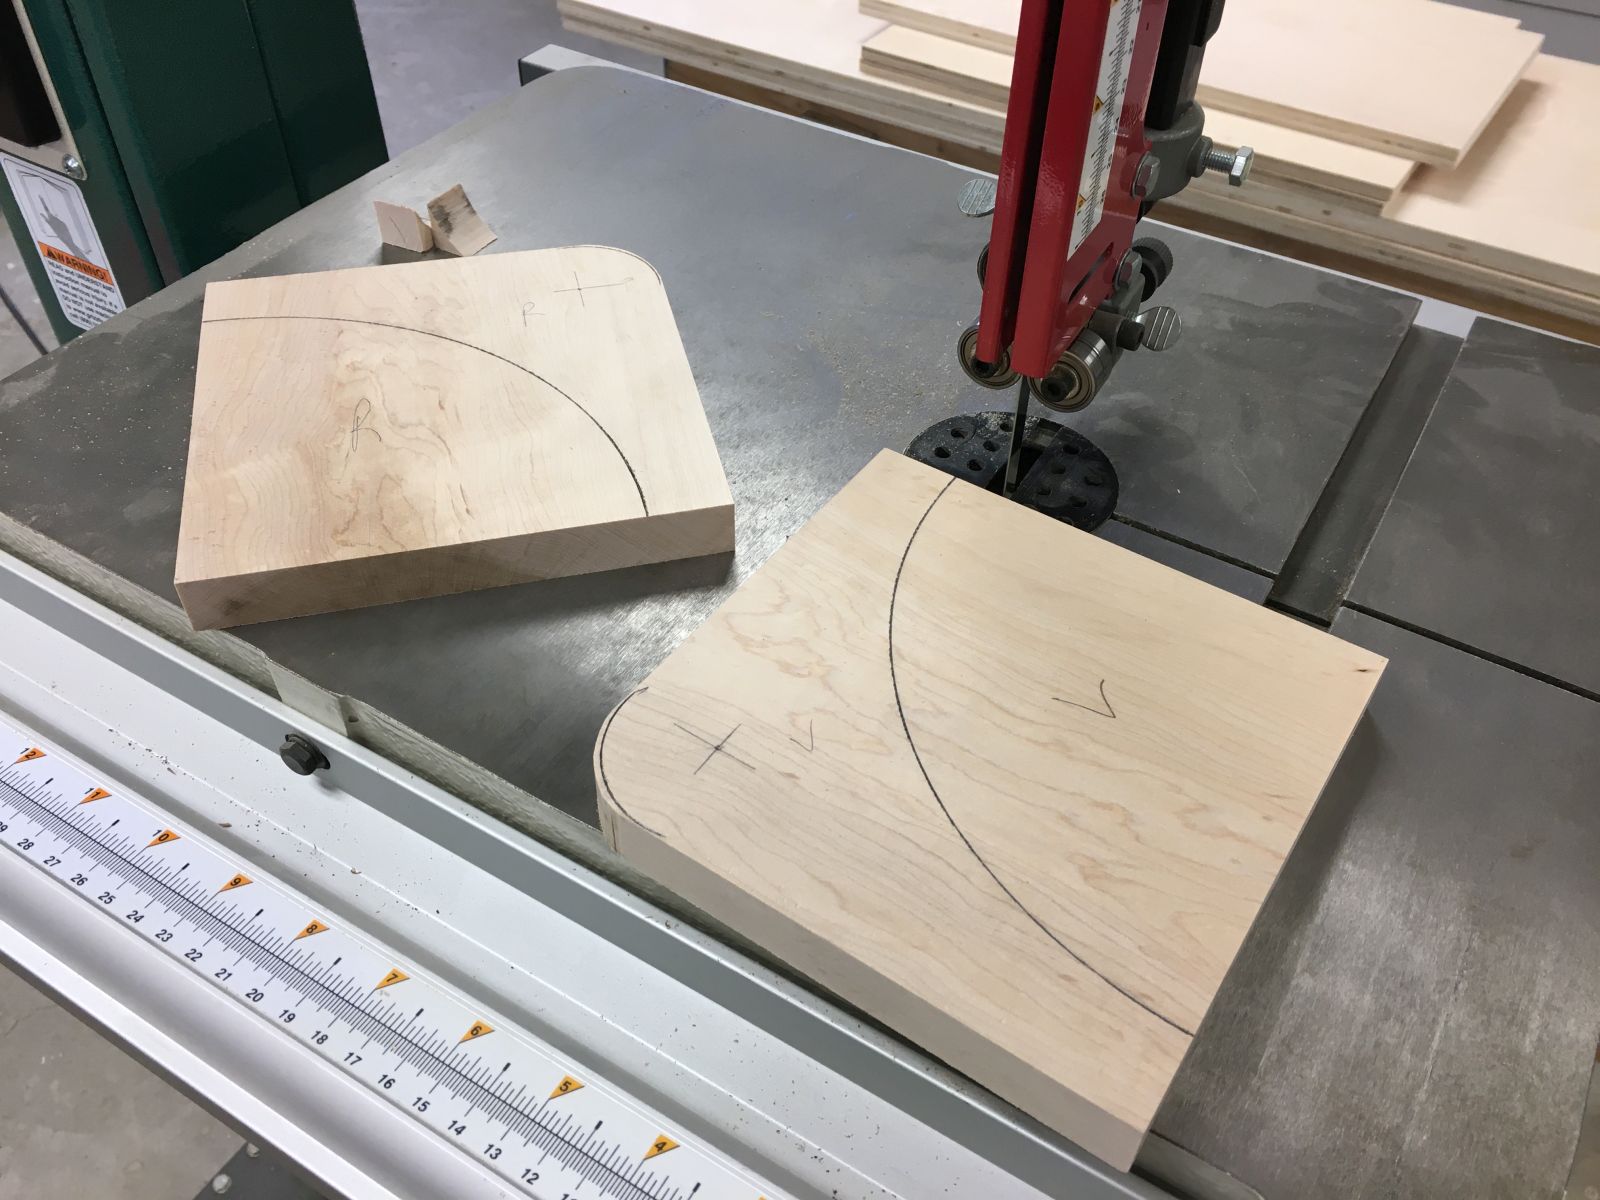
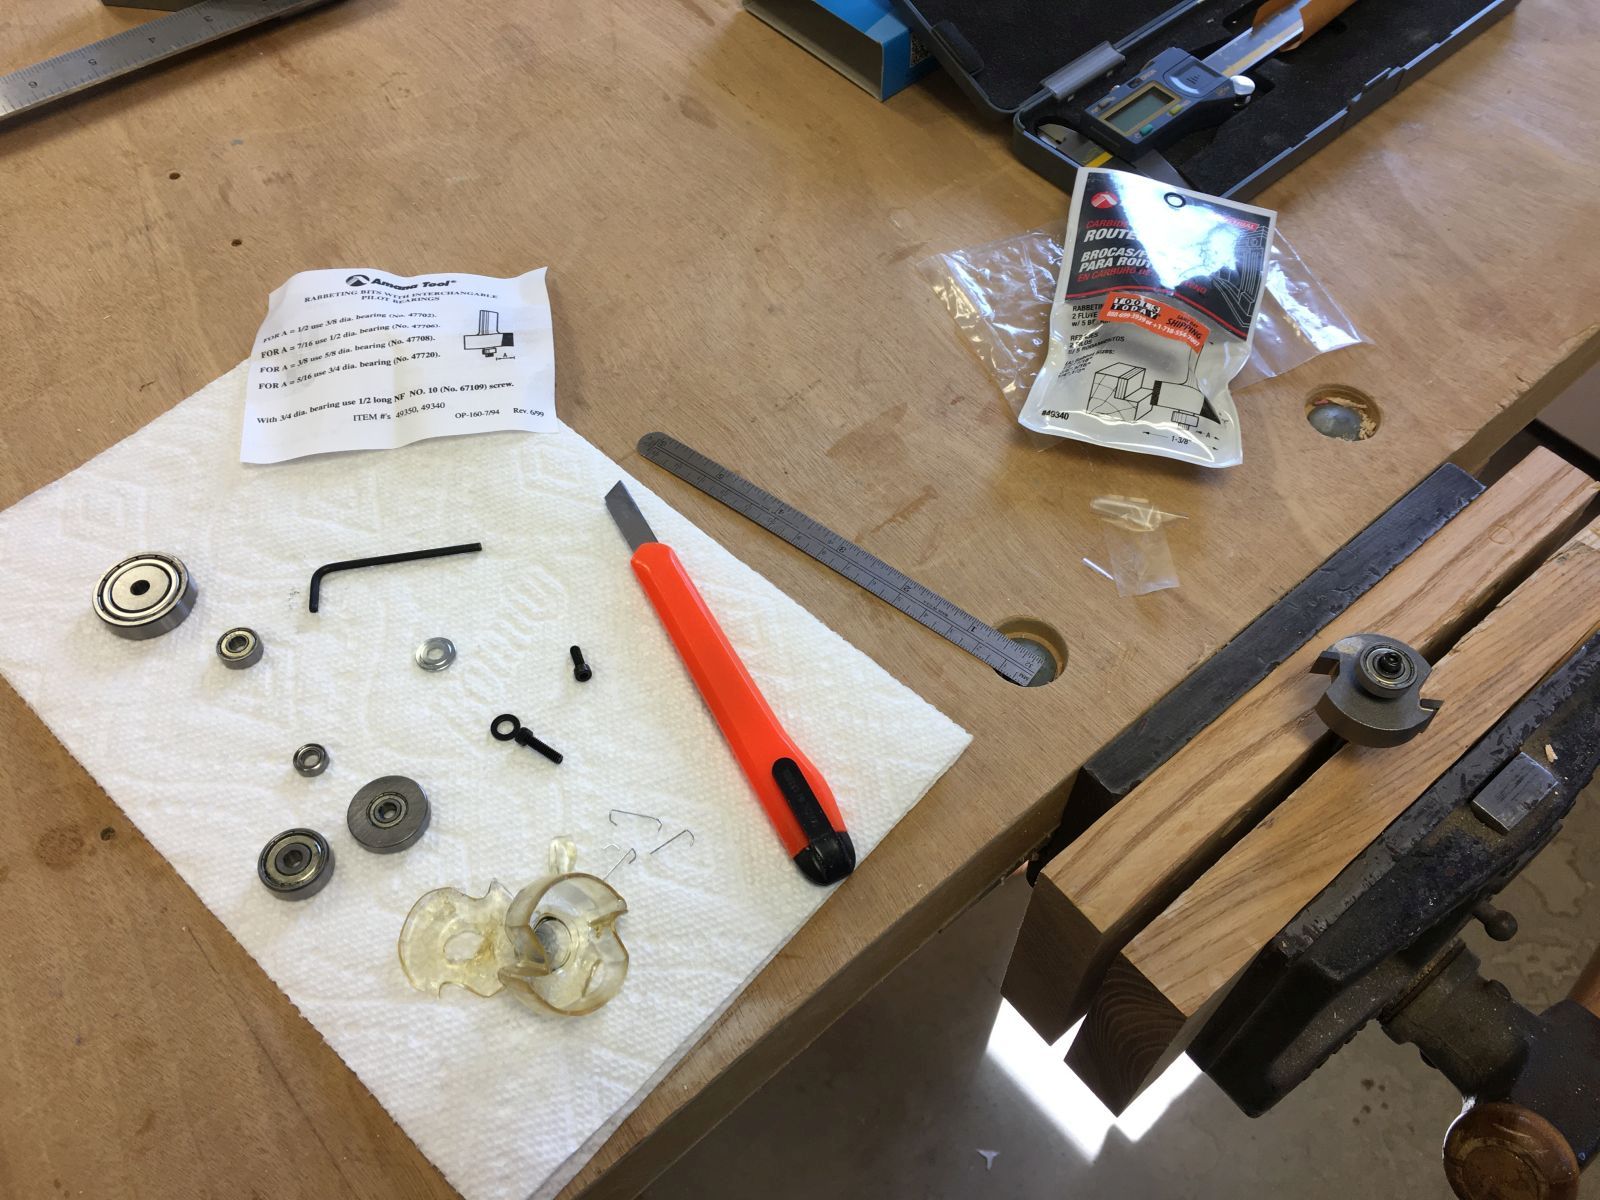
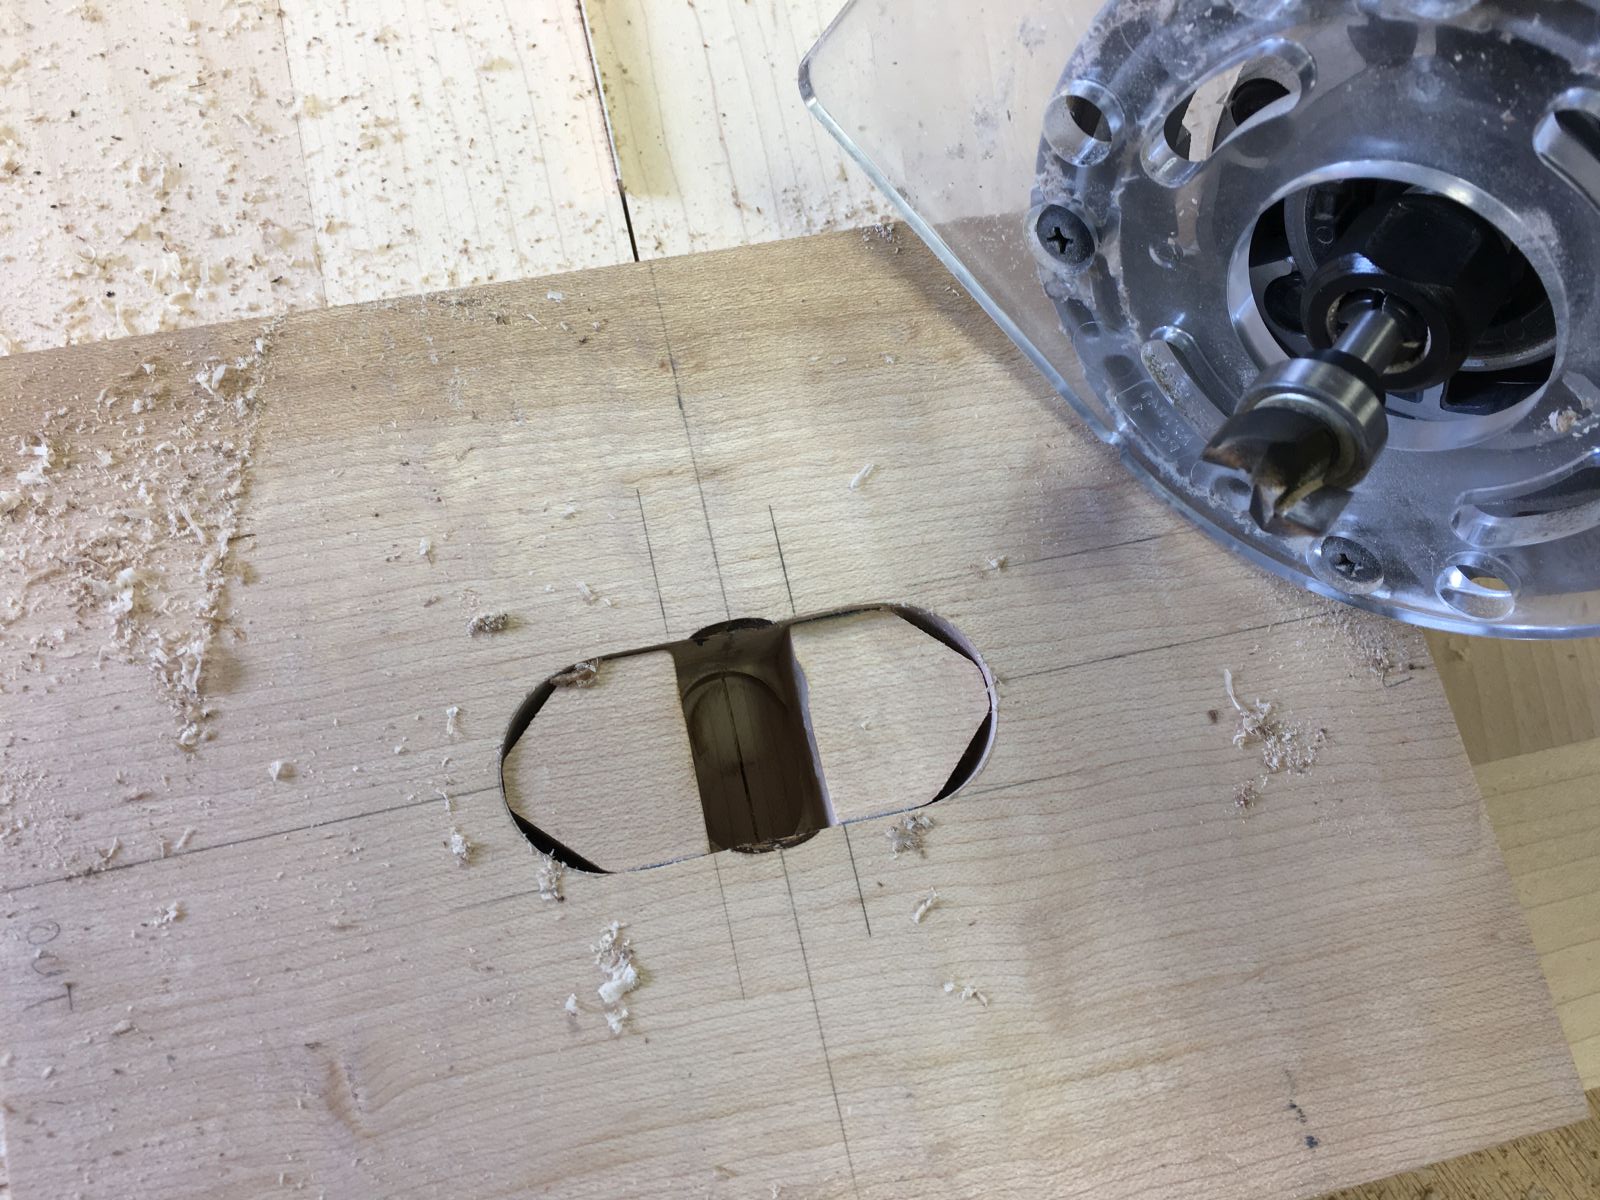
Routing the insert opening

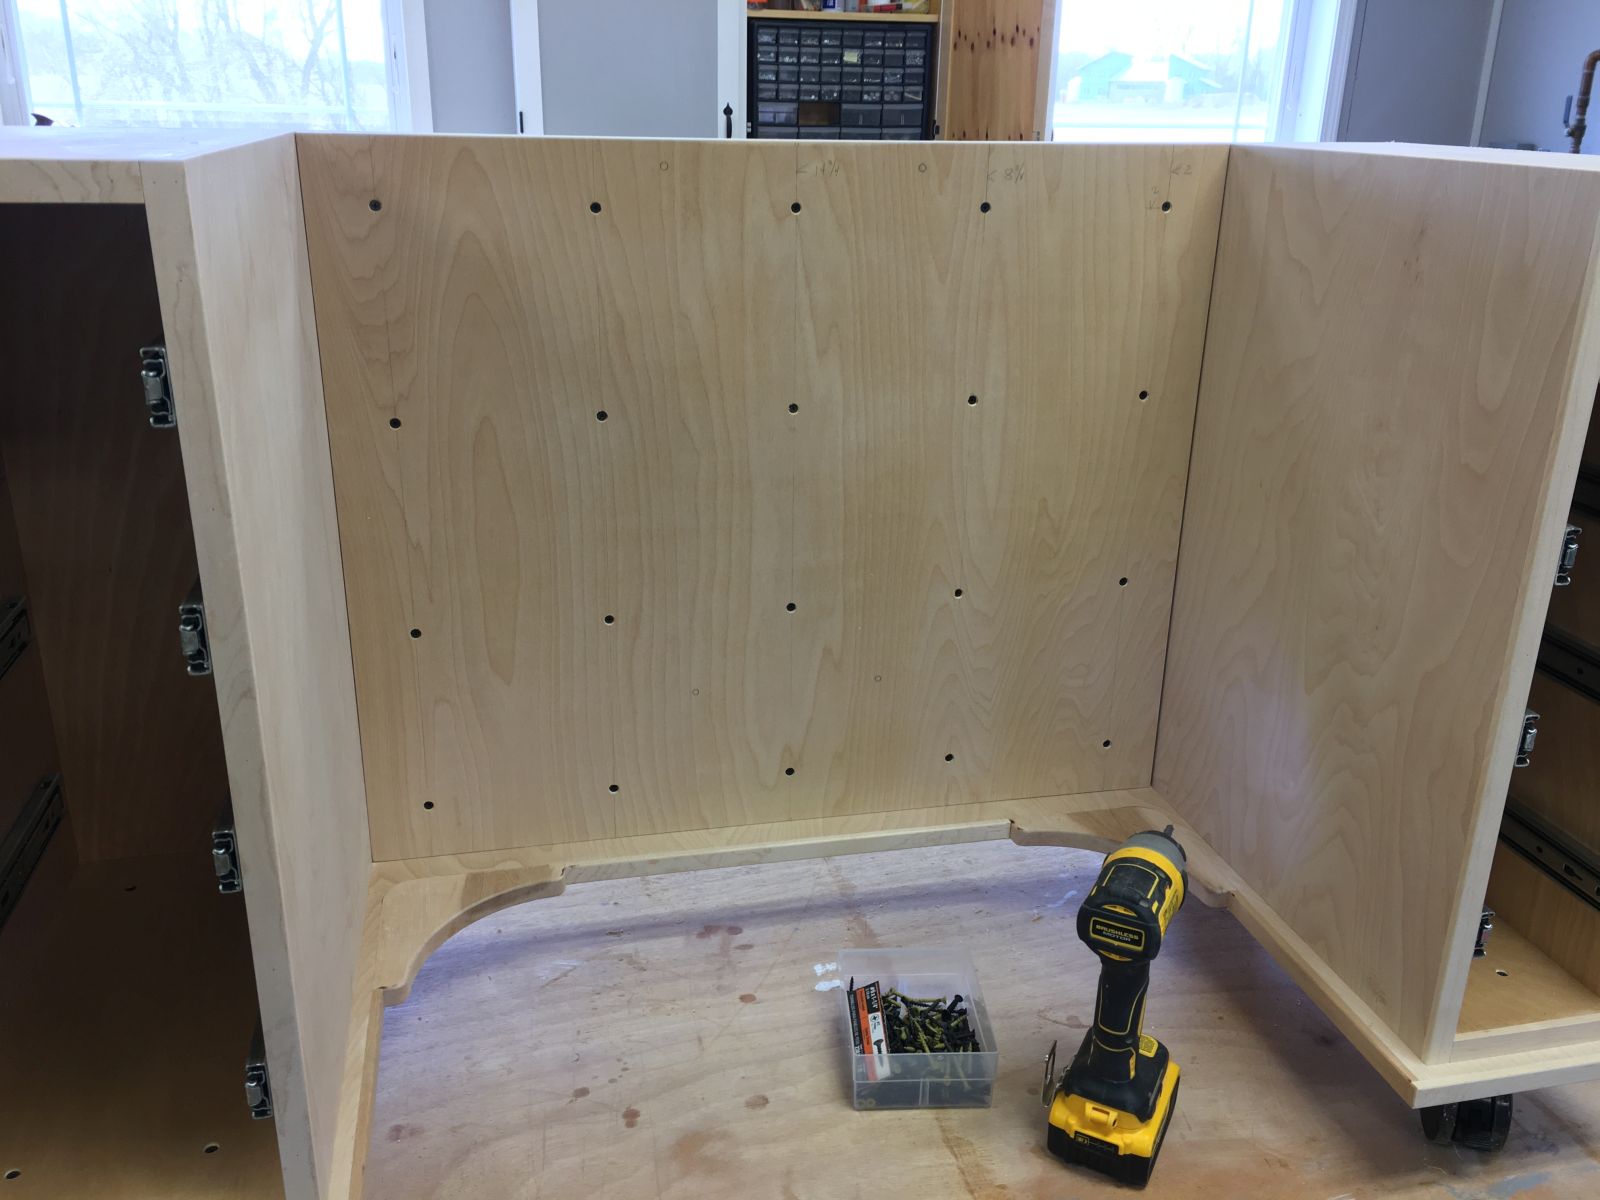
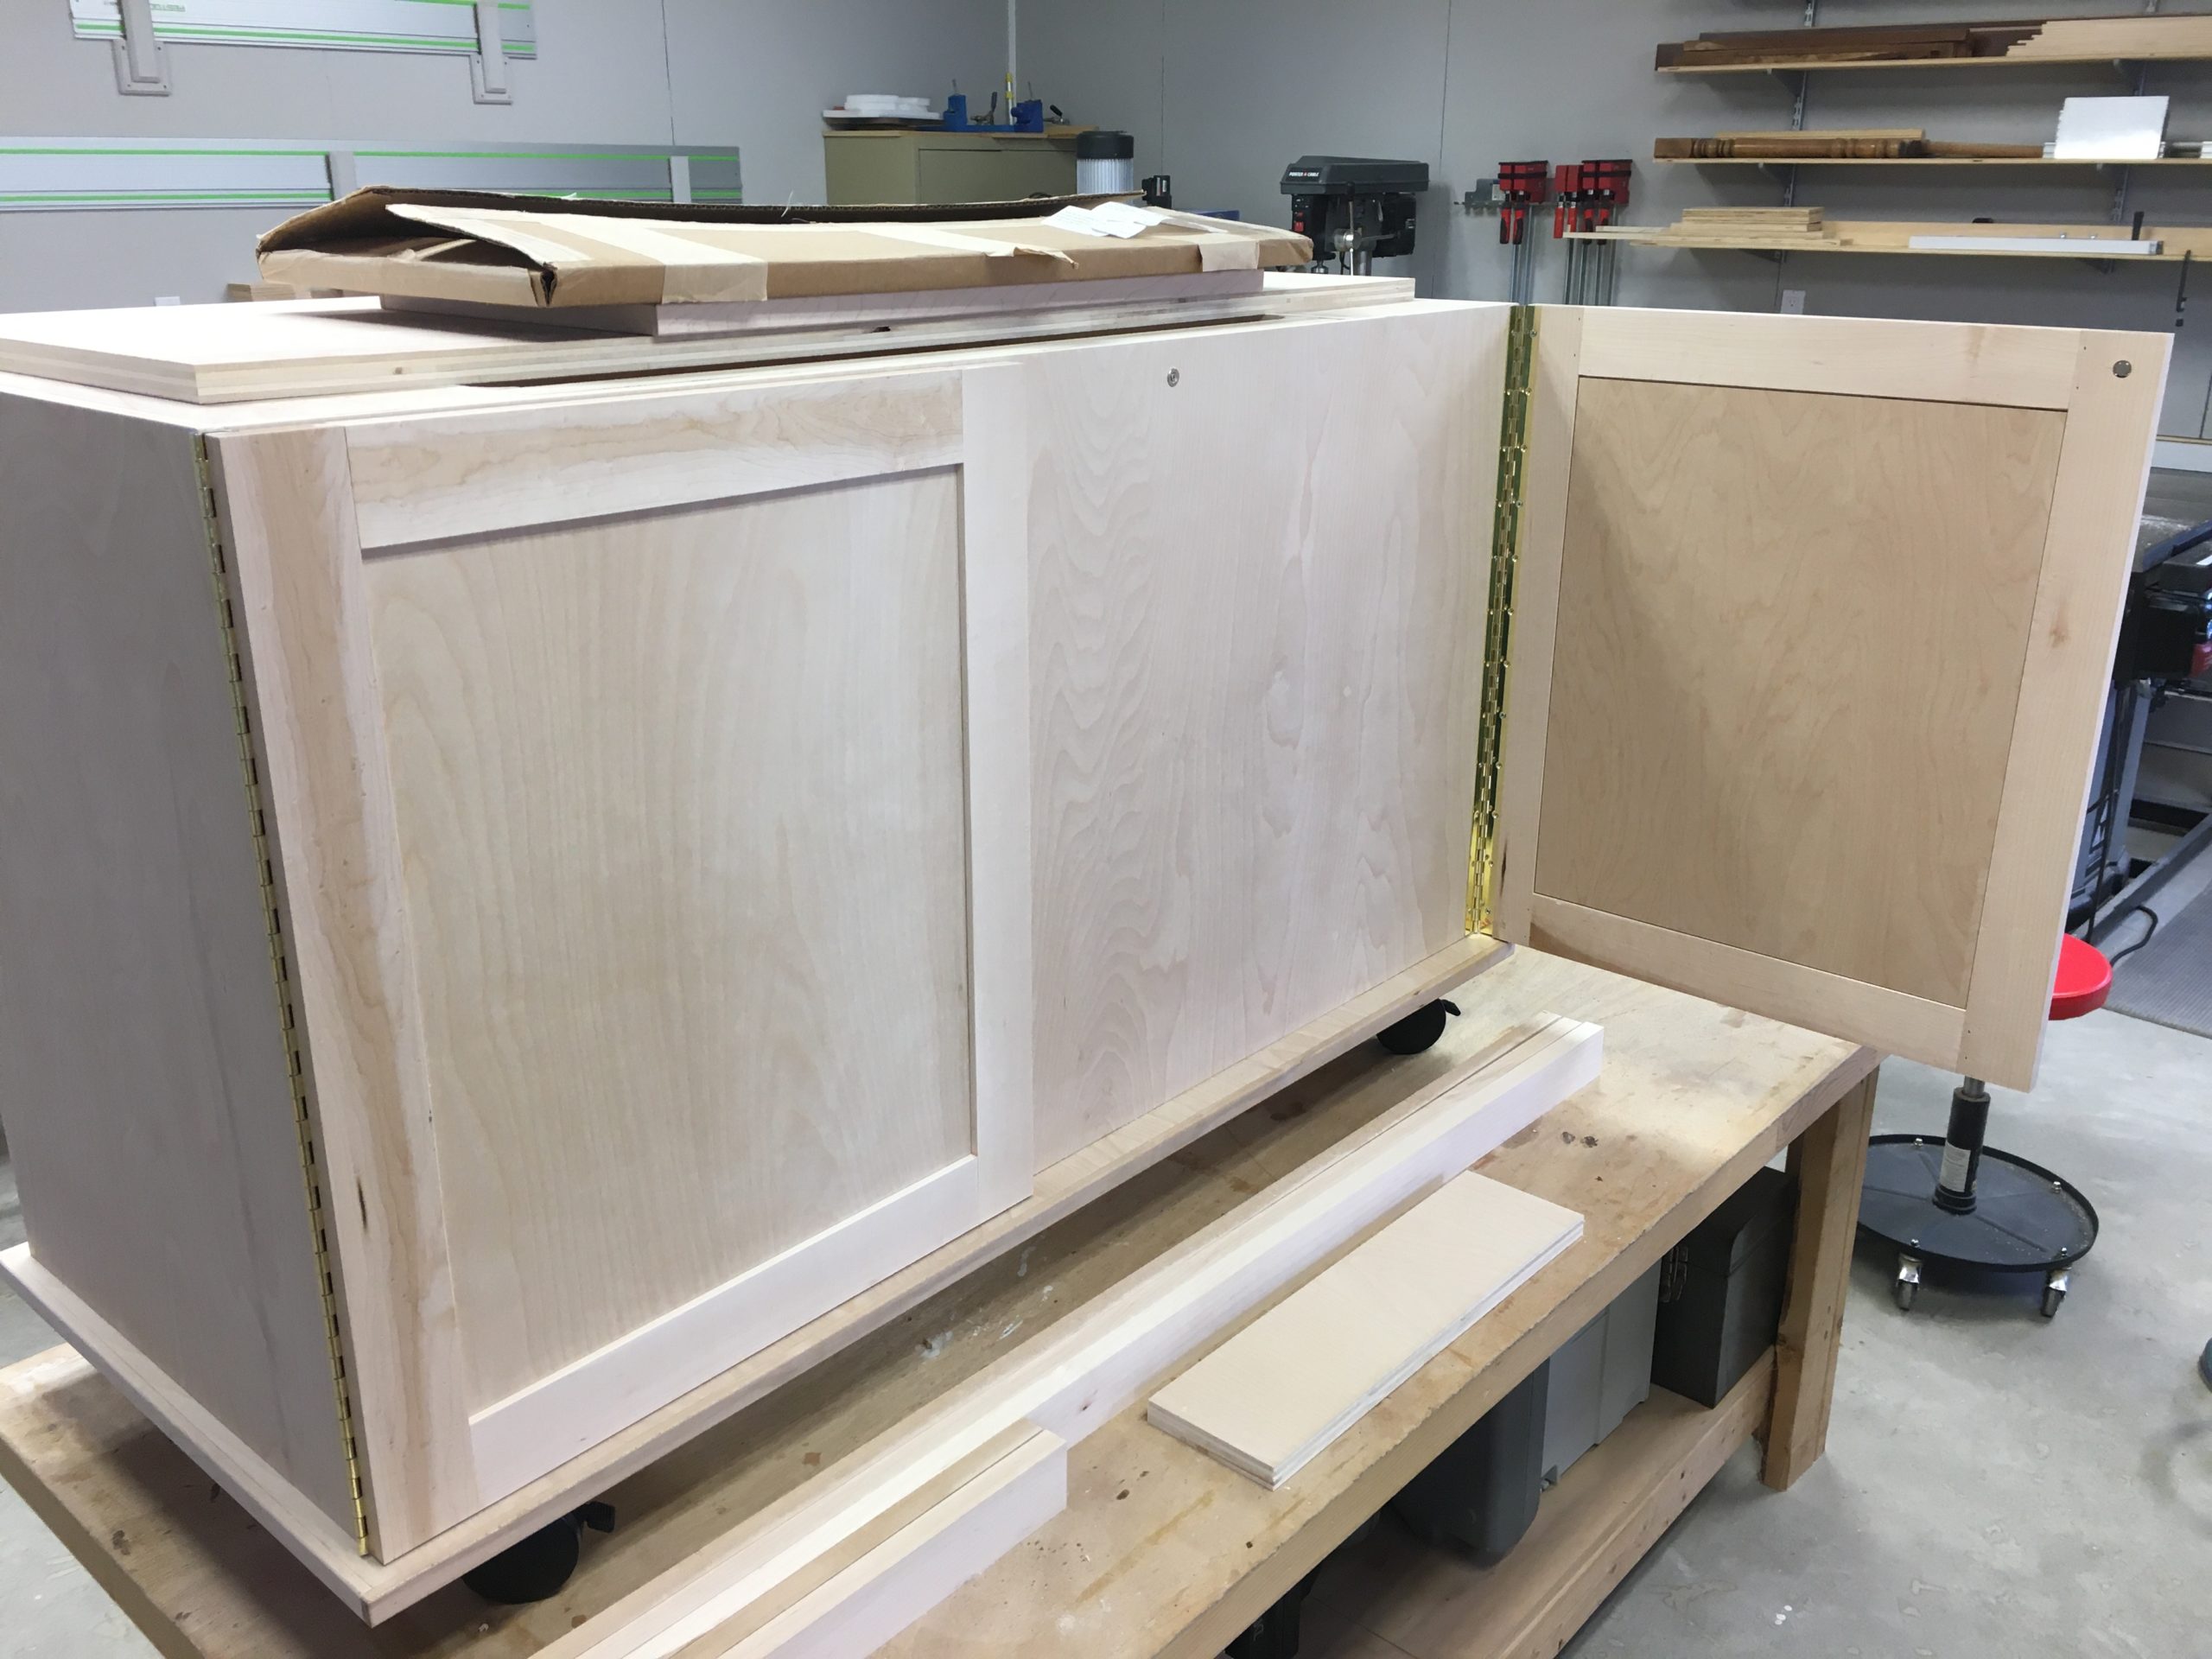
Cabinet taking shape

Removable insert specific to Linda’s sewing machine

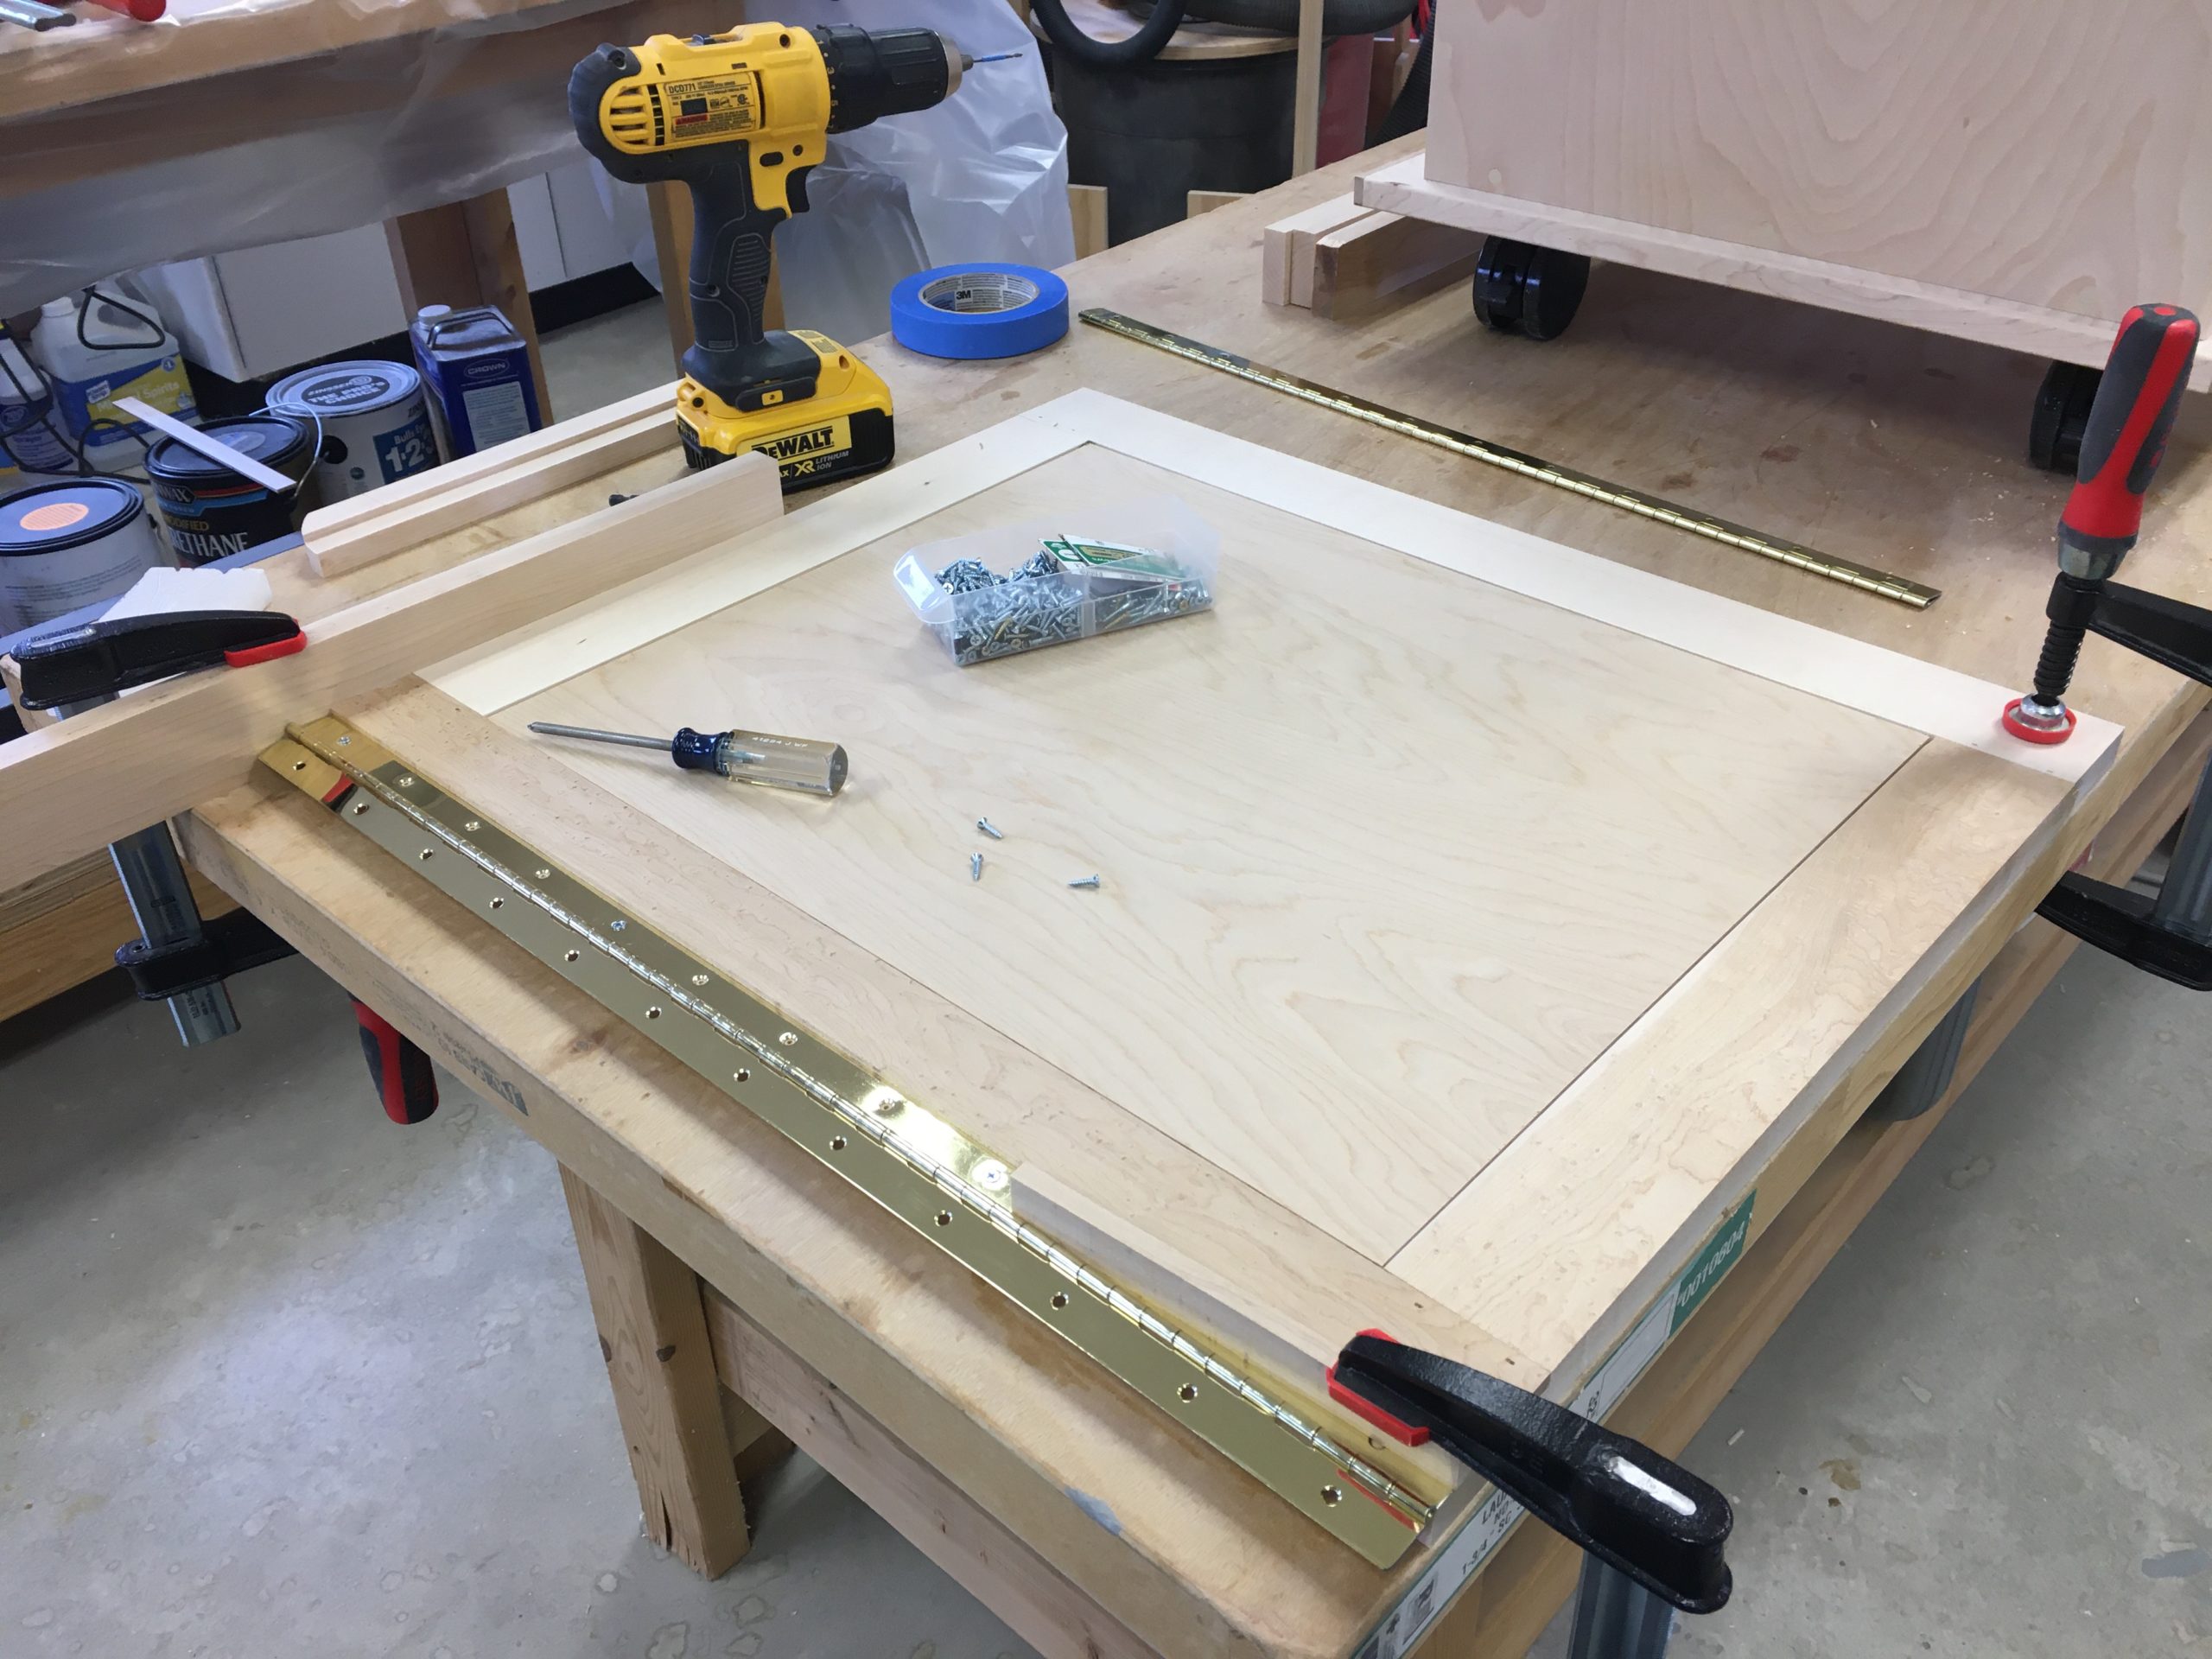
Ready to mortise in sewing machine hinges

Sewing machine hinges complete
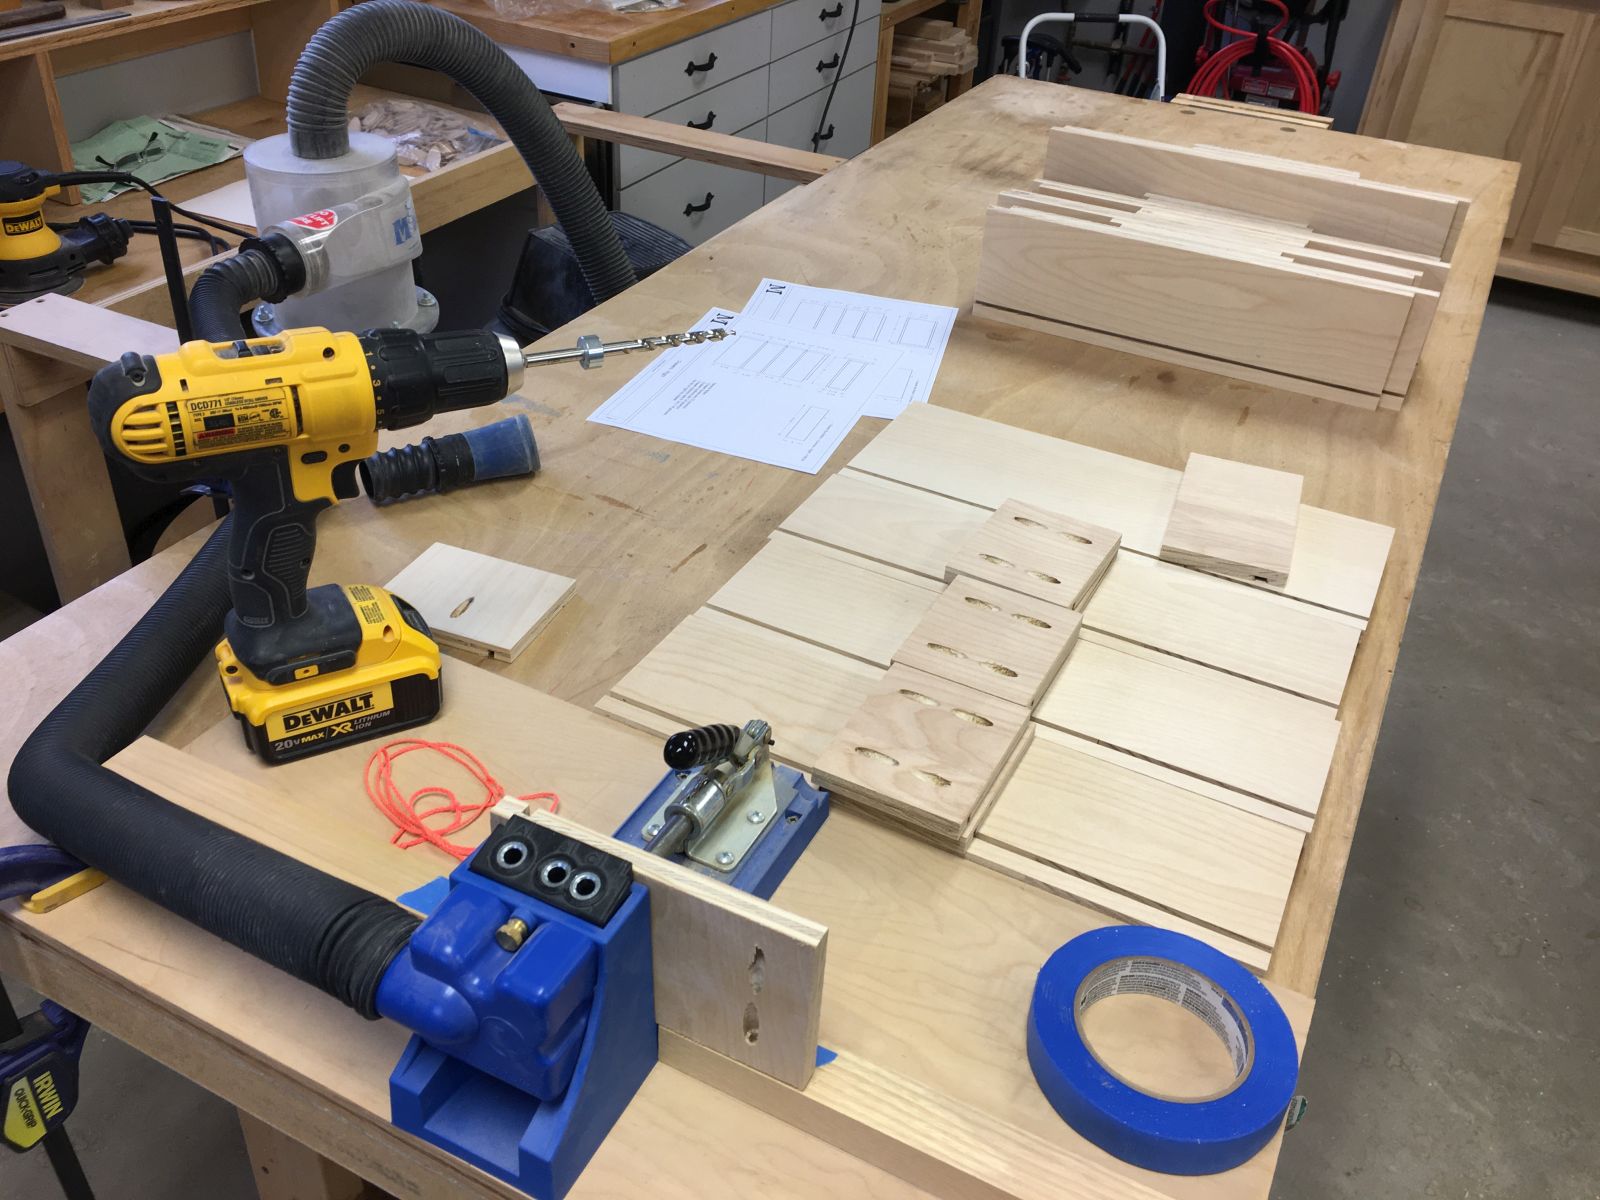

Varnishing insides of drawers before assembly
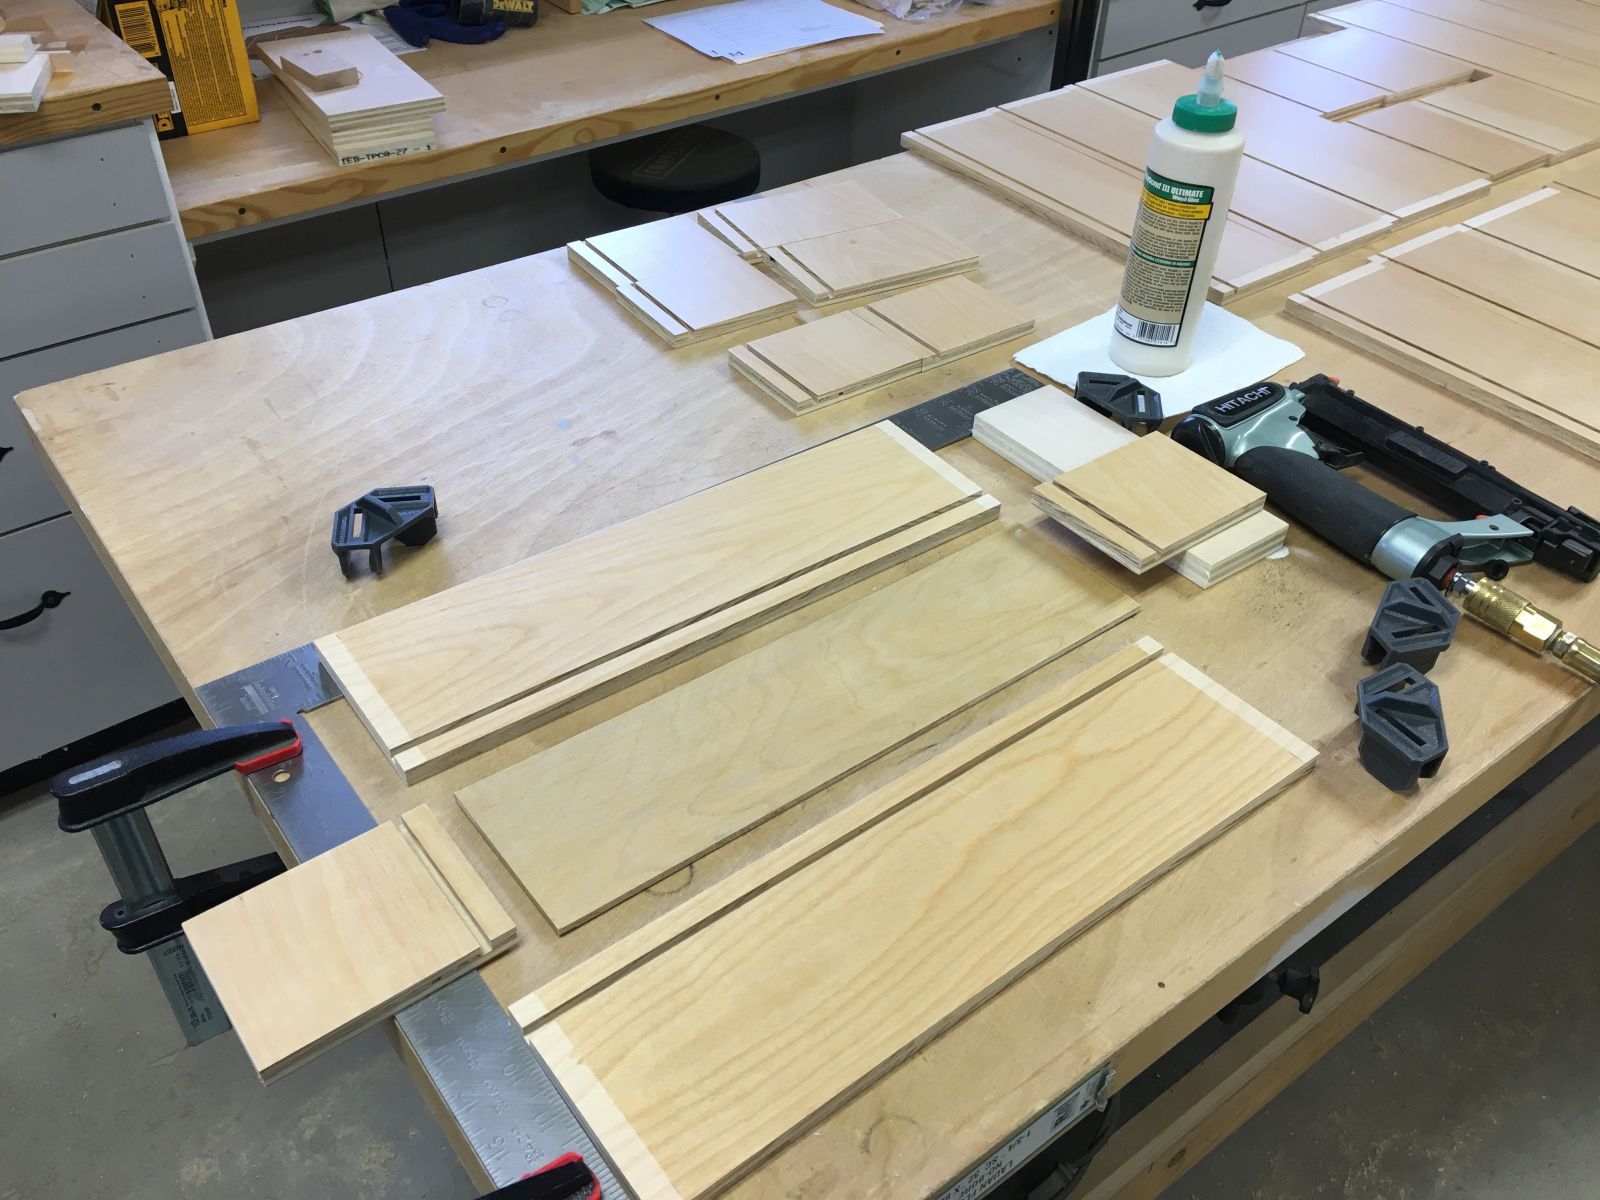

Drawer assembly with helpers from Rockler

Drawer boxes complete
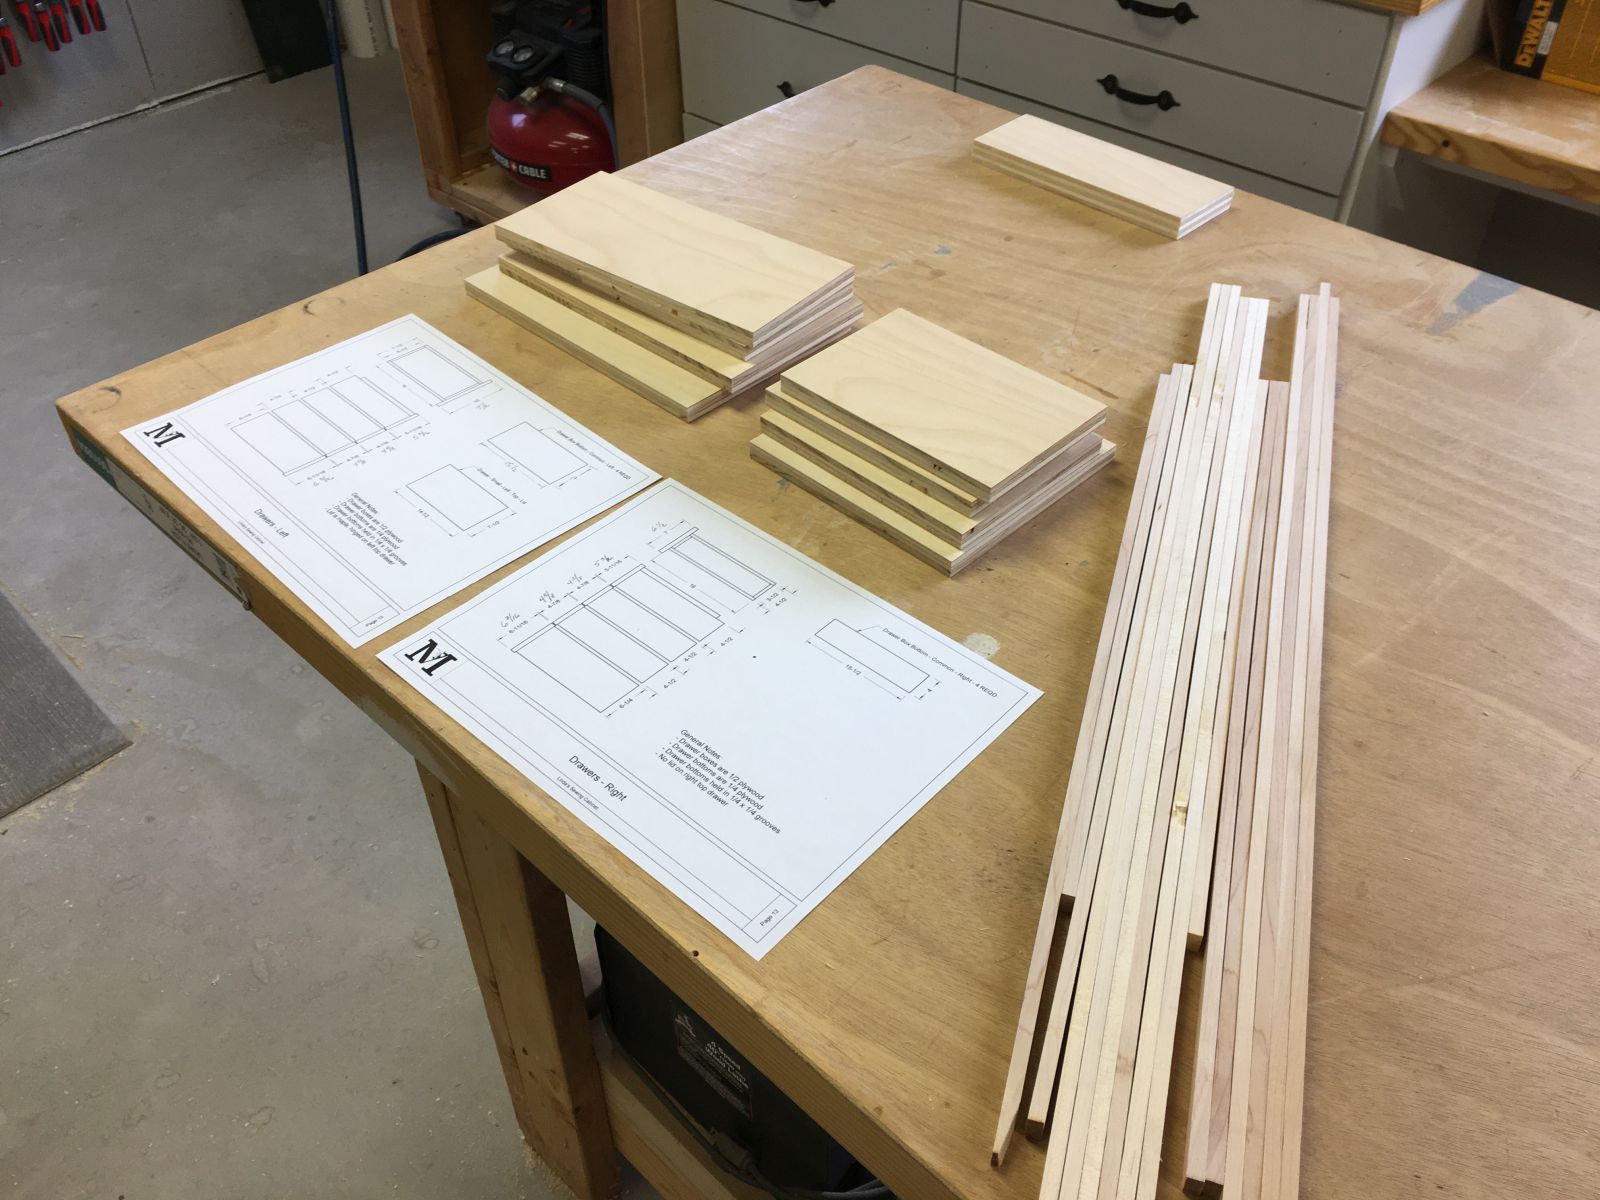

Solid edging on drawer fronts

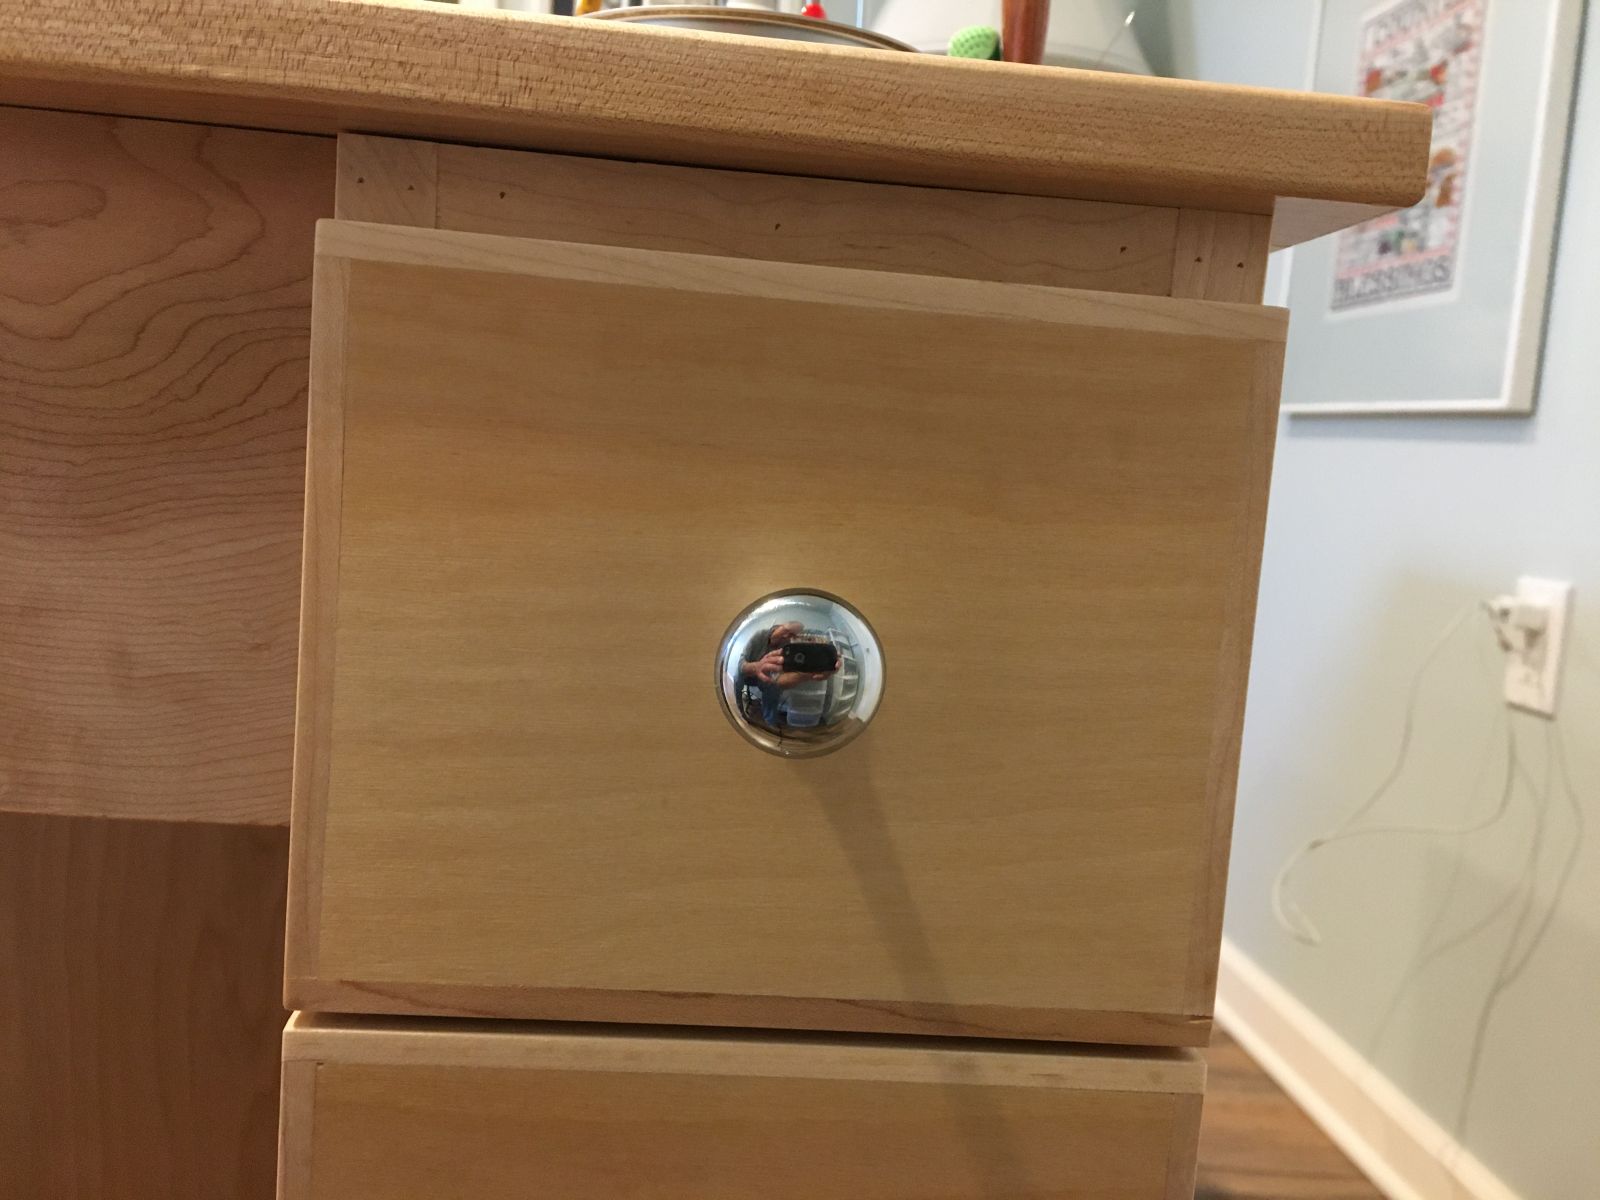
Completed drawer fronts ready to install
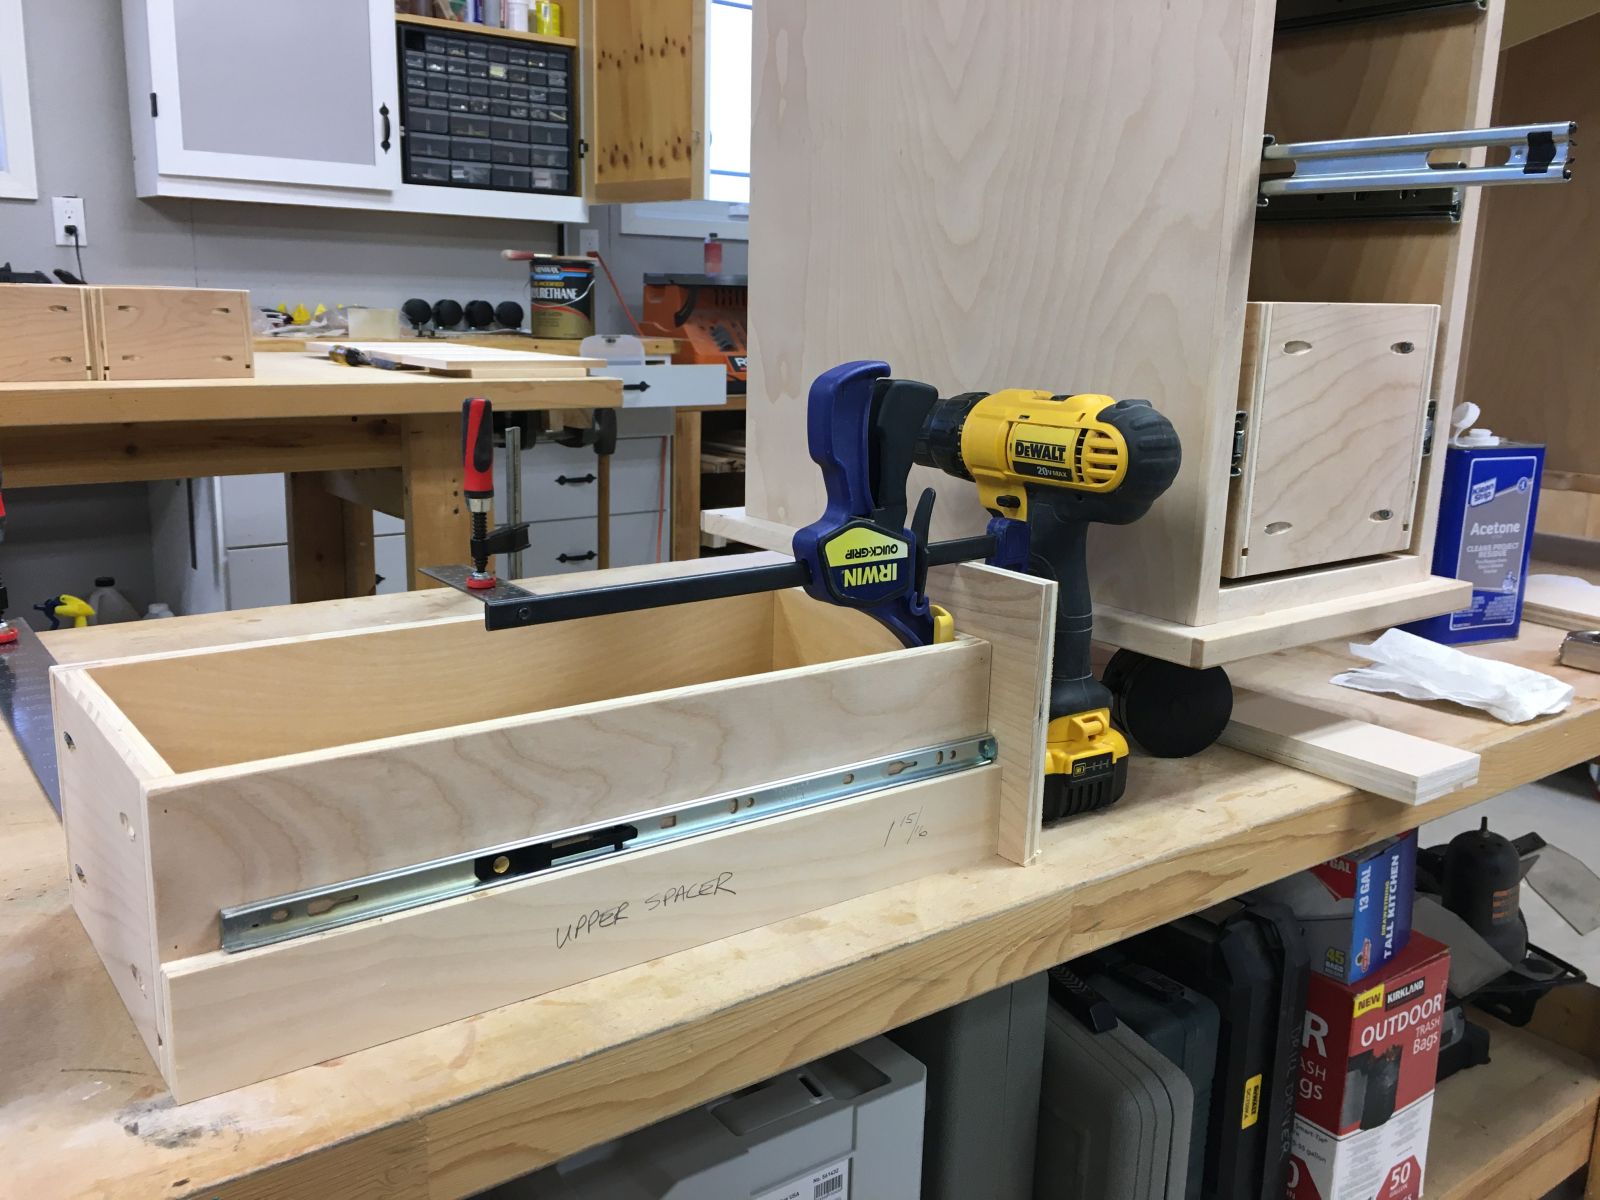

Installing drawer fronts

Cabinet complete and ready for finishing

Padded up for hand truck trip down basement stairs

Finishing components with MinWax water-borne, iol-modified polyurethane

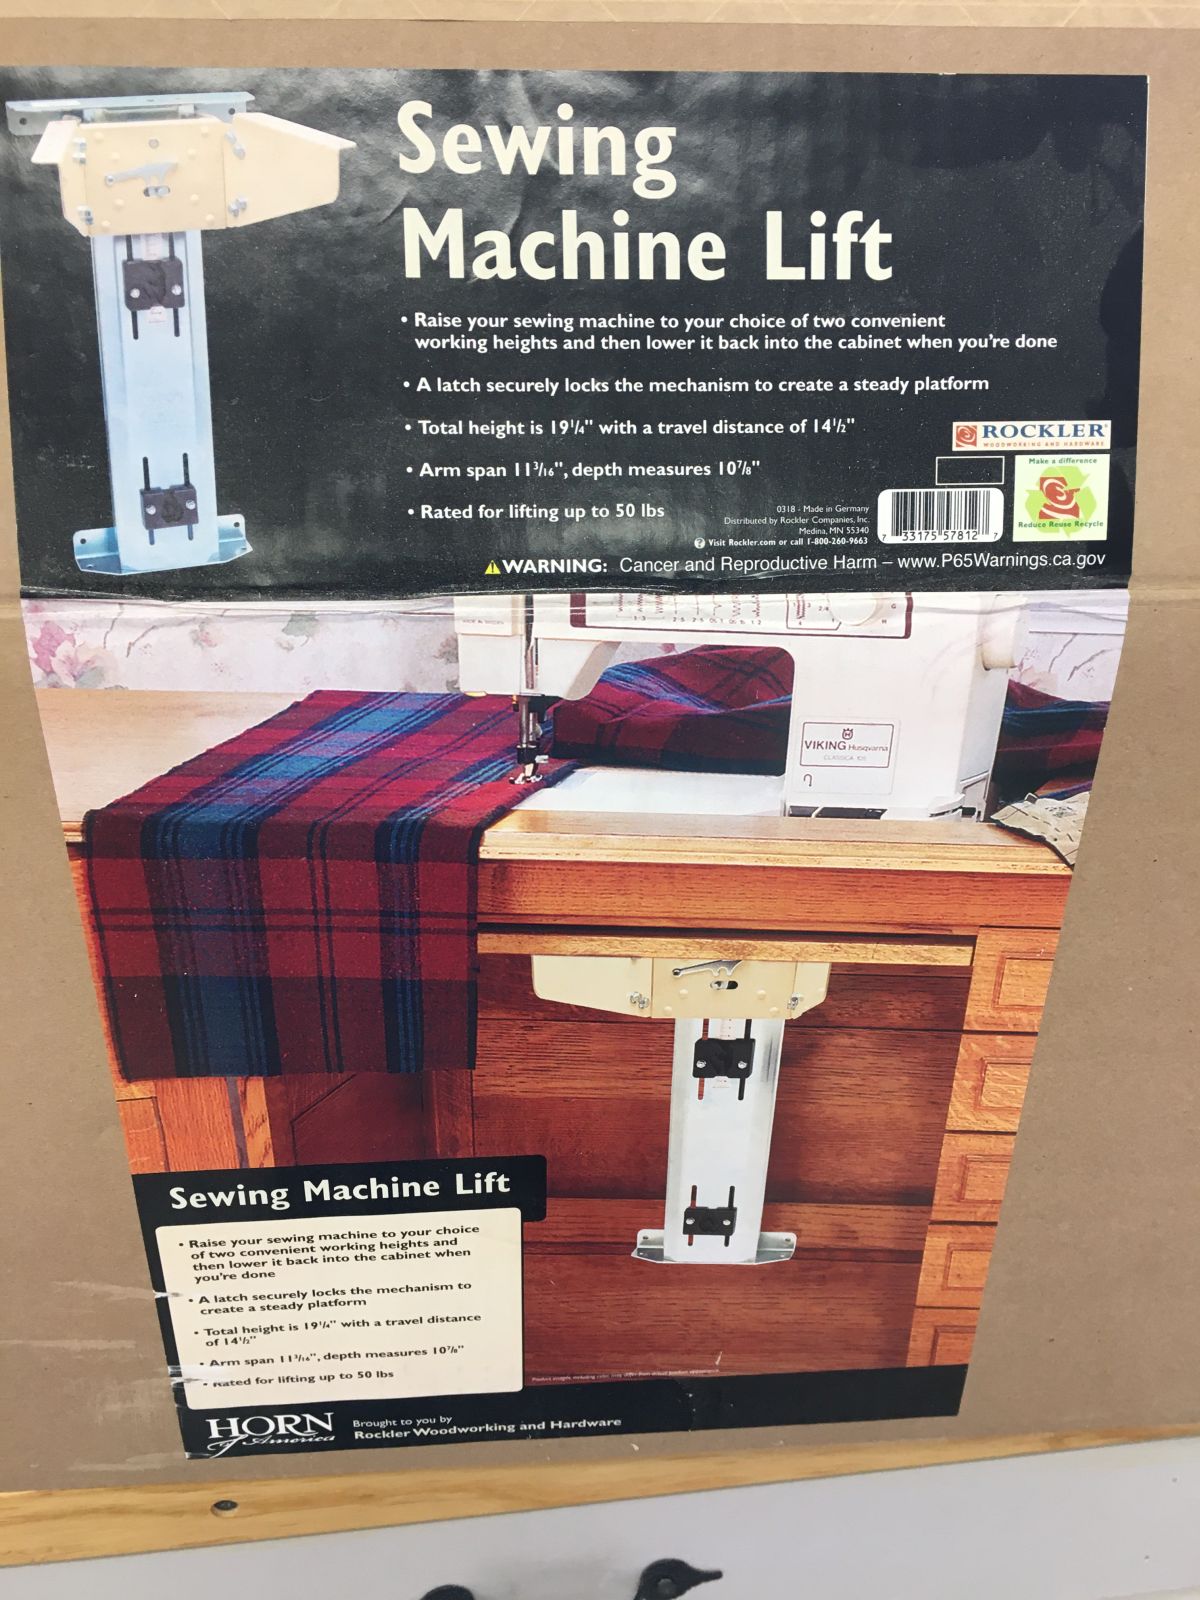
Sewing machine lift installed with lag screws

Linda’s “before” sewing machine setup

Linda’s “after” sewing machine cabinet
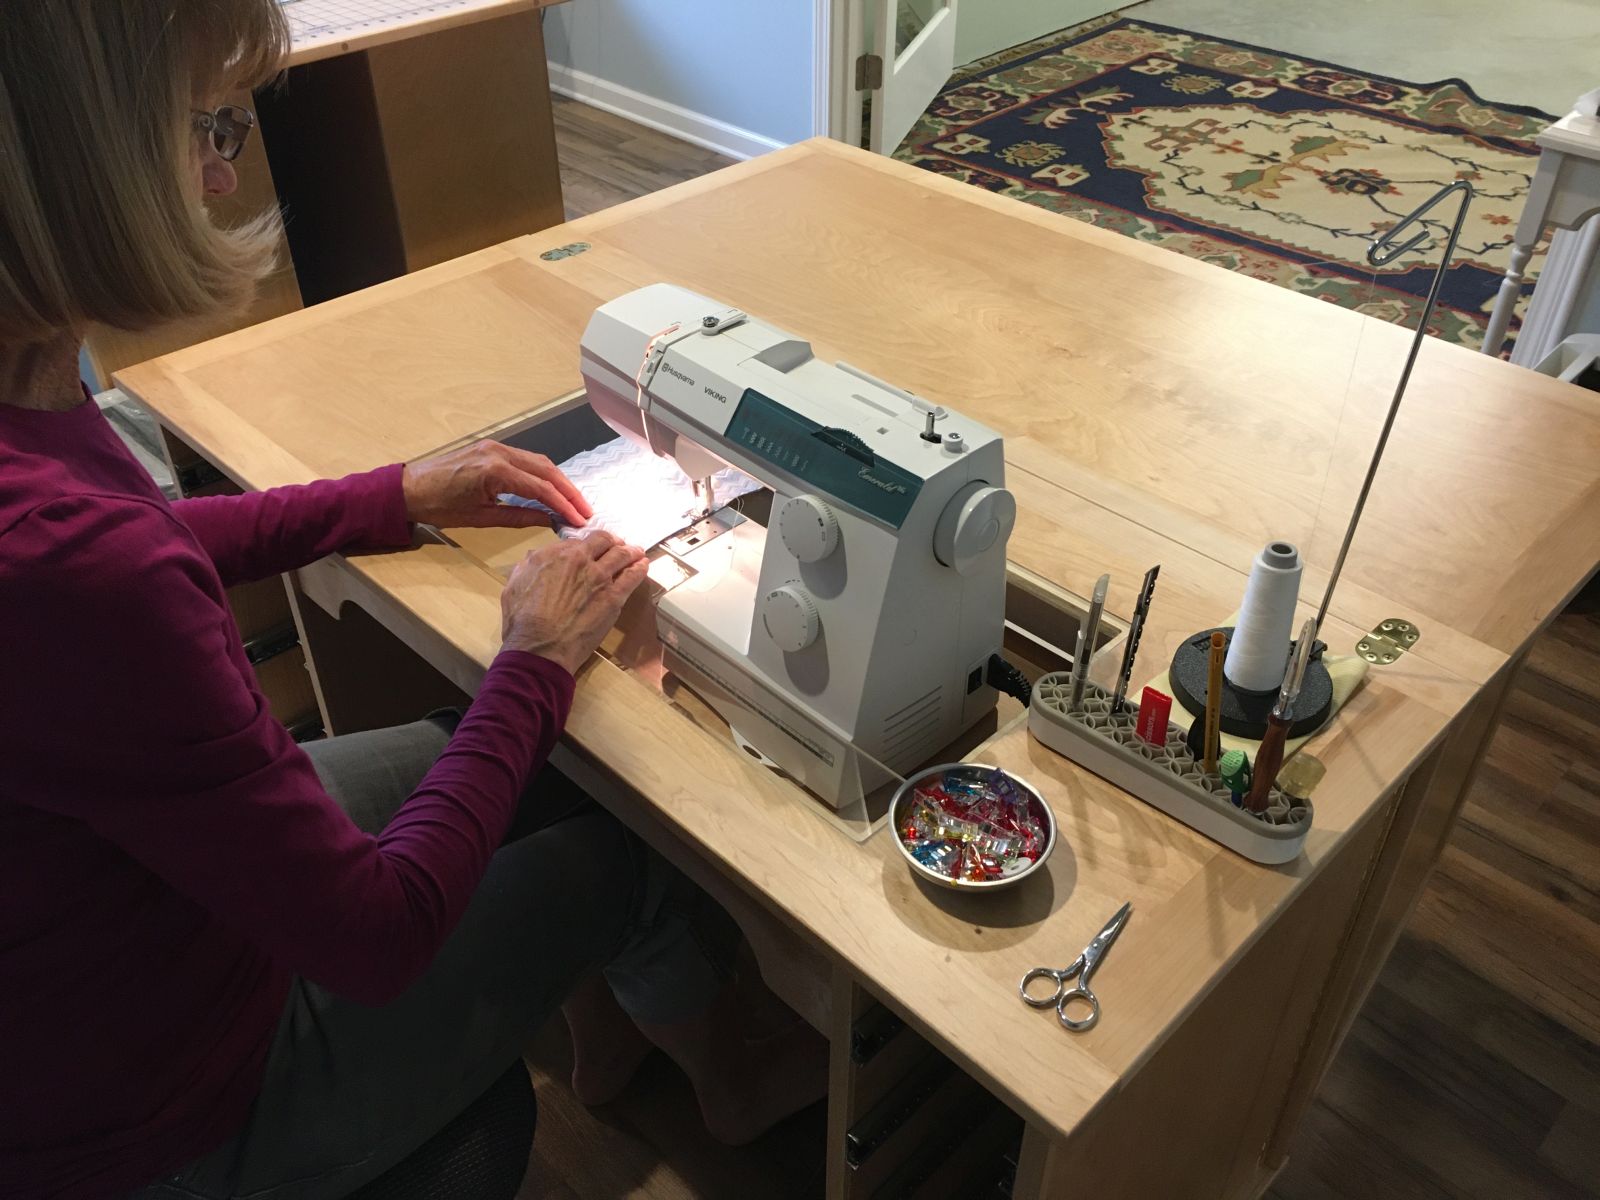

Sewing with the machine in the flat bed configuration

Sewing machine in the stored configuration

Sewing cabinet closed

Finishing drawers

Drawers and knobs installed

Insert converts drawer to left return extension