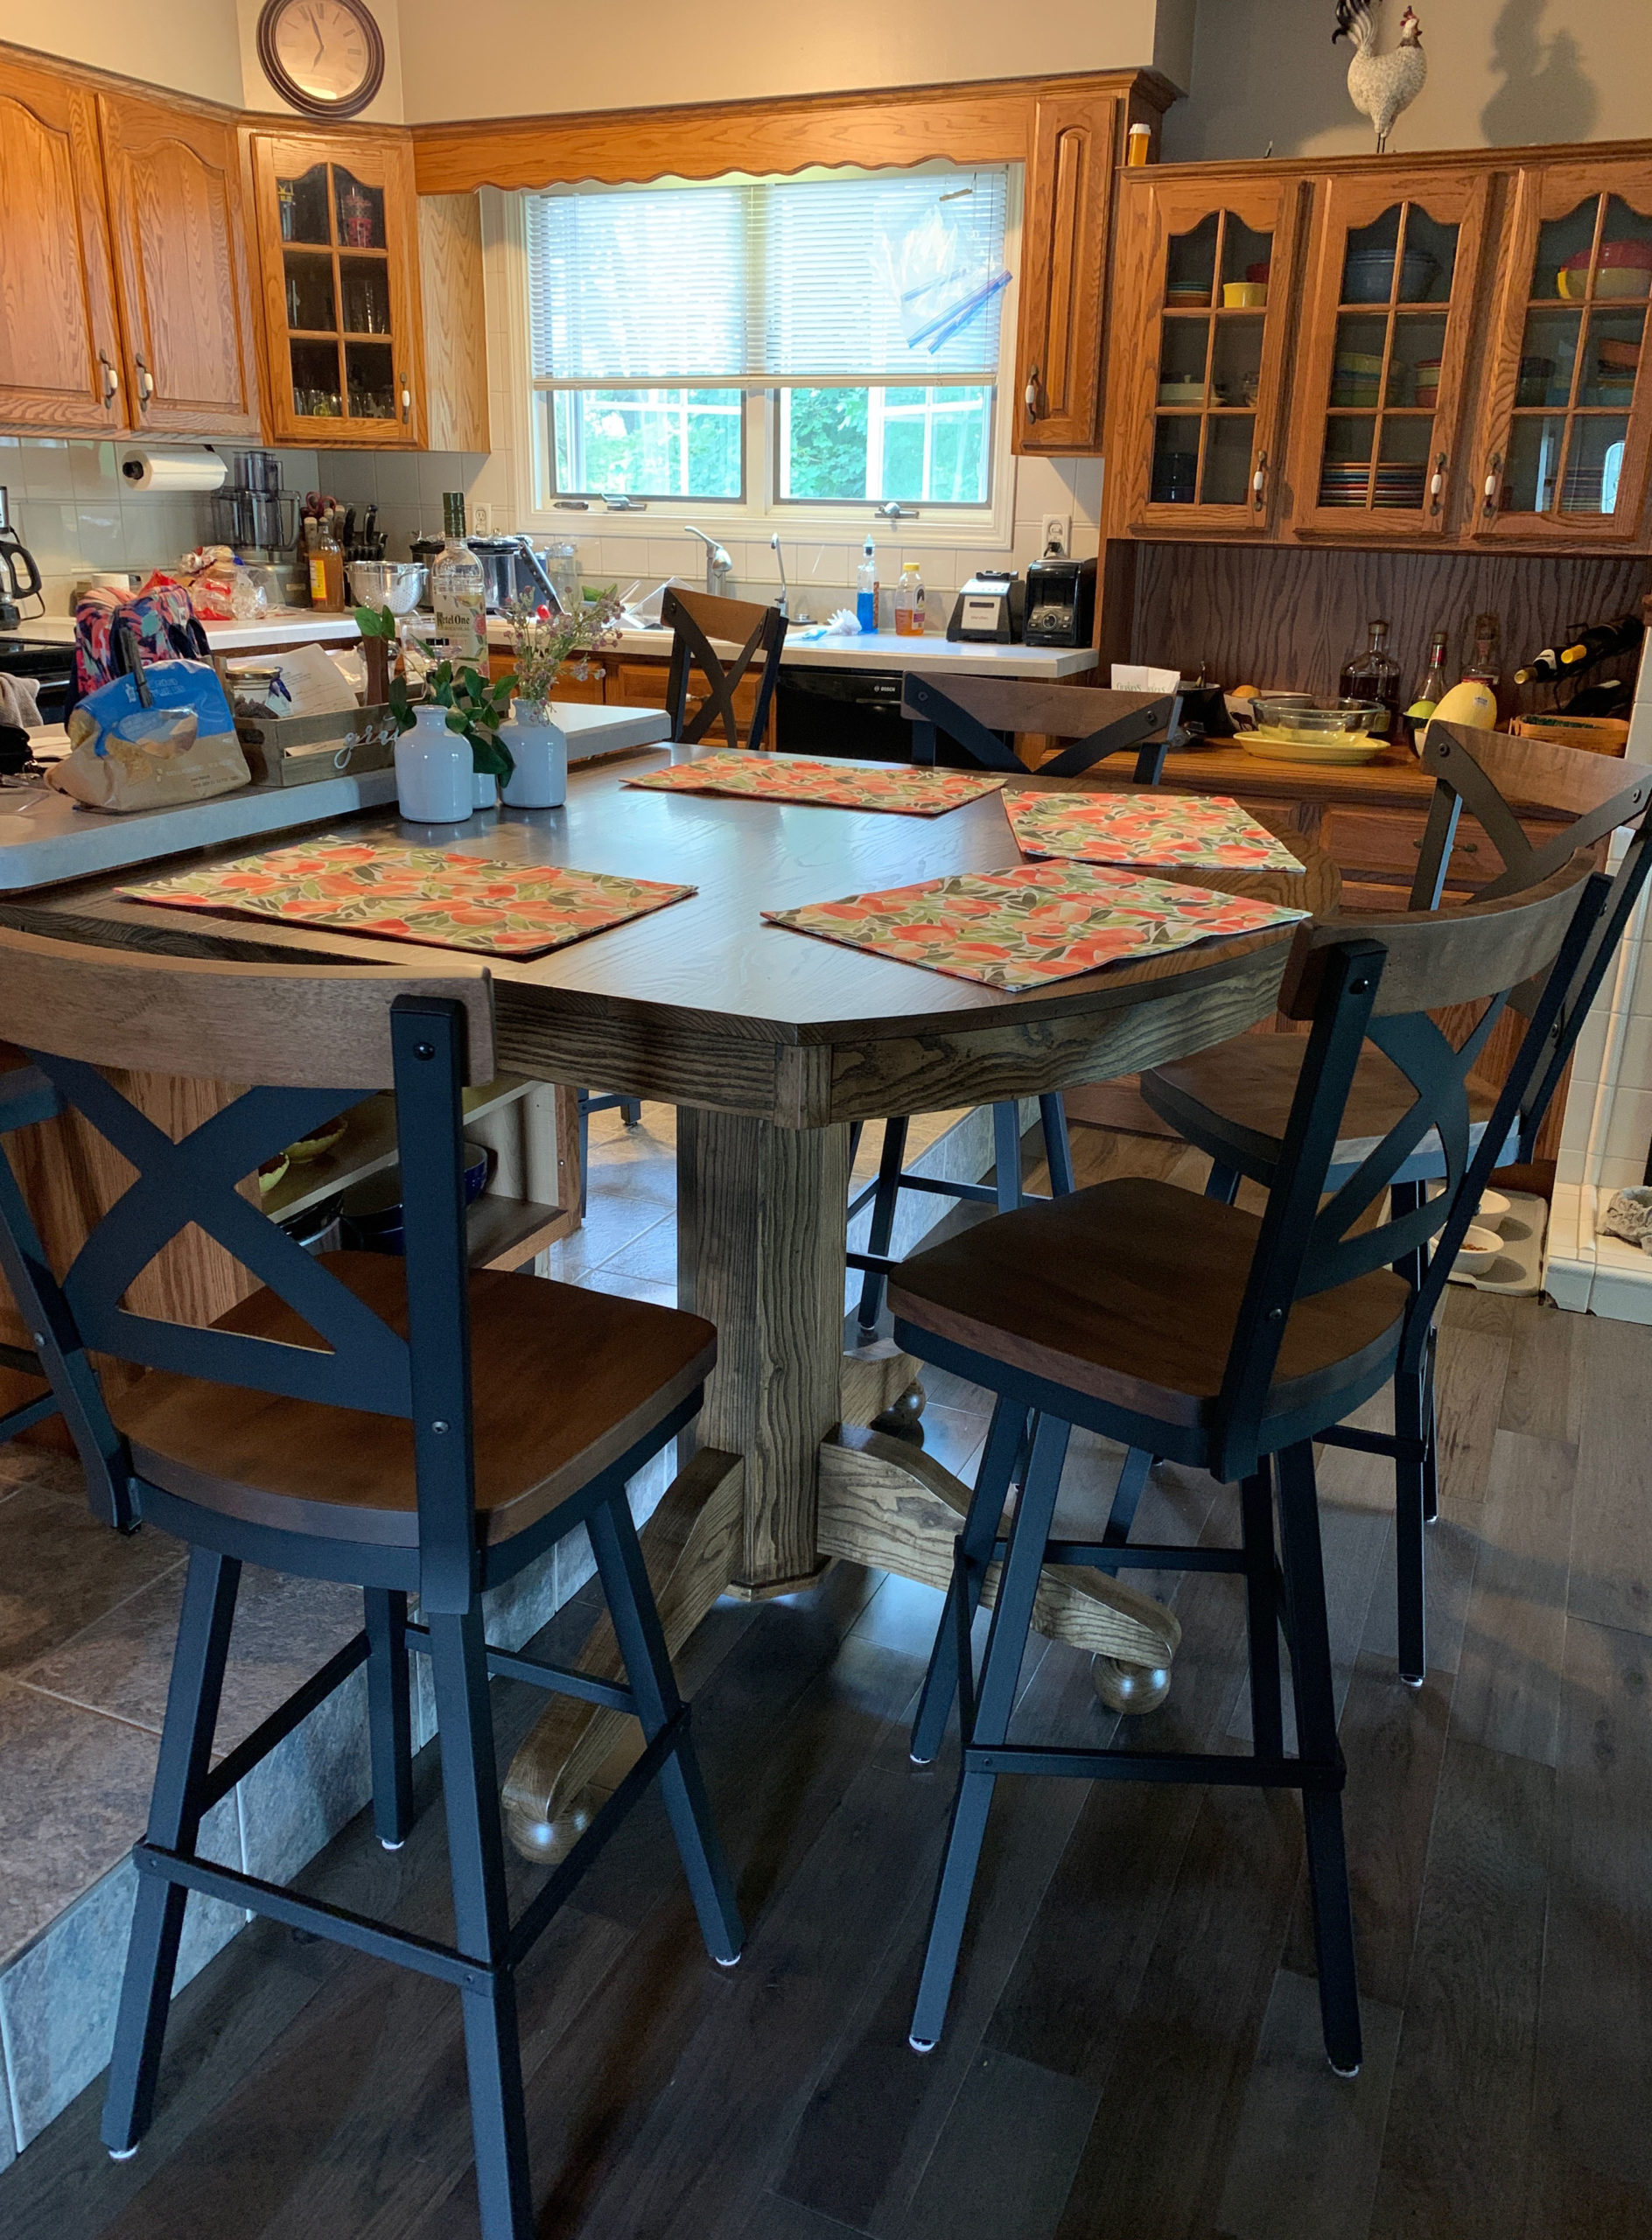
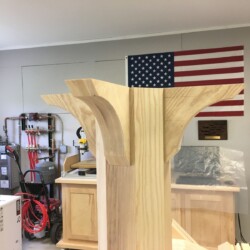
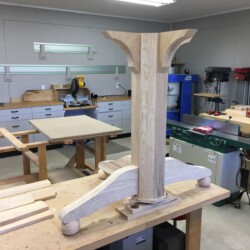
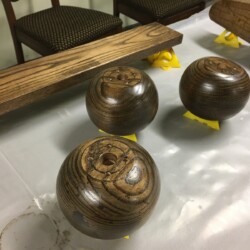
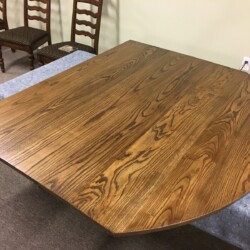
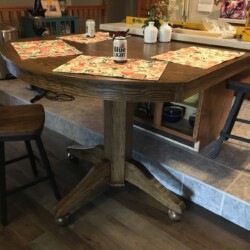
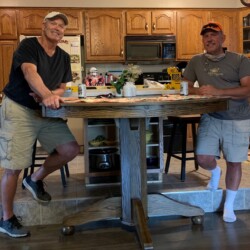
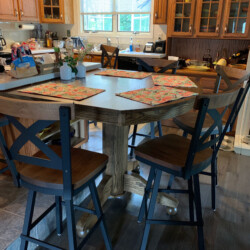
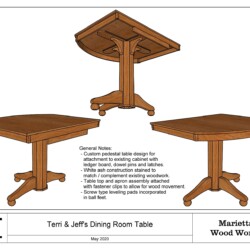
This project is a custom dining room pedestal table for Terri and Jeff. One end of this bar top height table will attach to an existing kitchen island, while the main weight of the table will be supported by an eight inch, eight-sided center column with three legs and ball feet. Constructed from white ash, this table was stained with MinWax Dark Walnut stain and varnished with MinWax Water Based Oil-Modified Polyurethane in a satin sheen to complement the existing woodwork in the room.
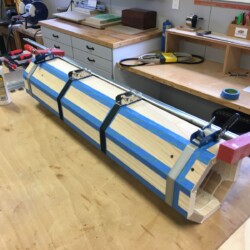
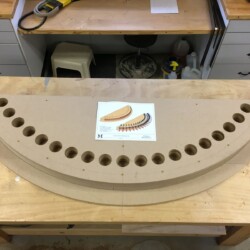
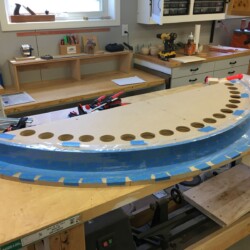
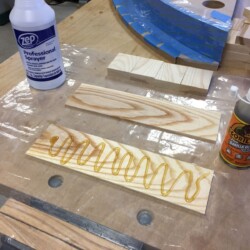
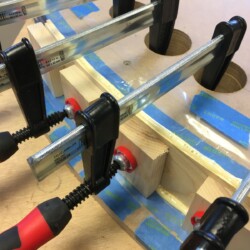
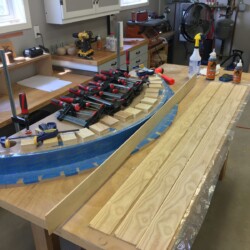
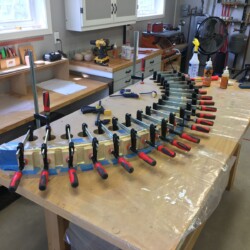
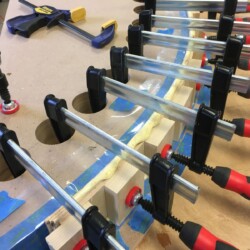
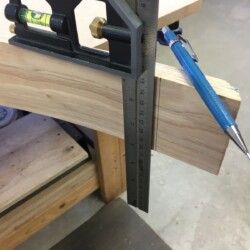
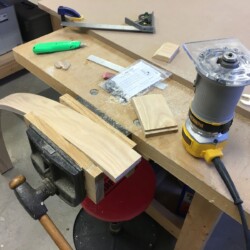
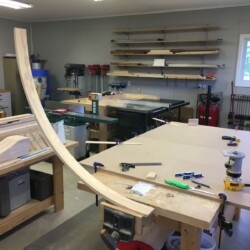
While most of this project was straightforward woodworking, two components provided interesting challenges in the workshop. The three ball feet, glued up and lathe turned to custom templates have internal leveling feet incorporated. The real challenge is the curved section of table apron, which will be made of a bent lamination glue up. To accomplish this, a form made of four layers of 3/4 MDF was designed and fabricated to accommodate 19 clamps. A single white ash board was resawed into six thin strips, coated with Gorilla brand polyurethane glue and clamped in the bending jig. Polyurethane glue dries more rigid than PVA glue, so it was used to minimize springback of the curved apron blank upon removal from the jig.
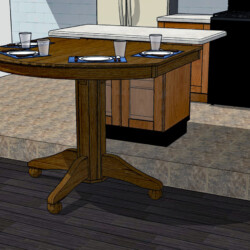
After several options were evaluated with SketchUp 3D models, this design was settled on
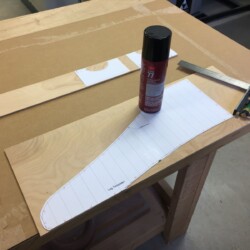
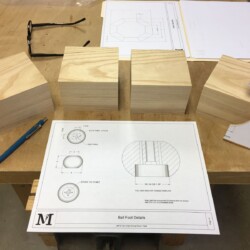
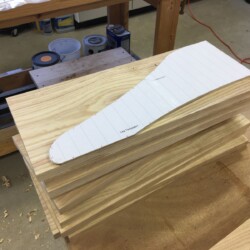
Preparing leg and ball foot templates
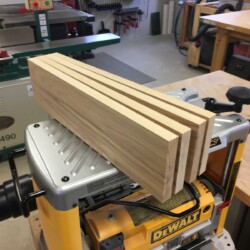
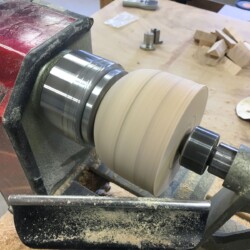
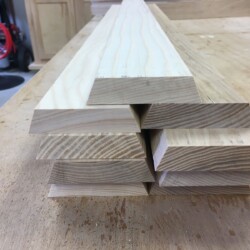
Stack for ball foot glue up
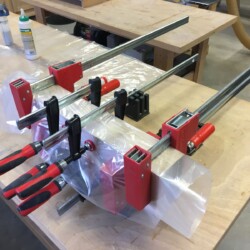
Ball foot glue up curing in clamps
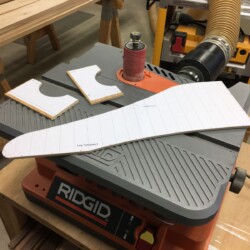
Leg and ball foot templates complete
Ball foot design details showing leveling foot installation
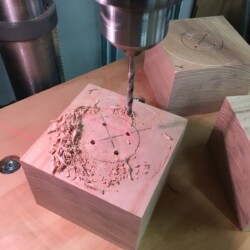
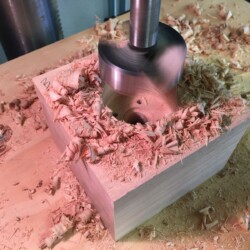
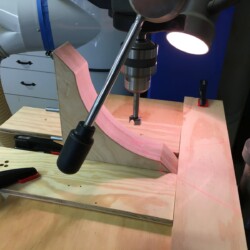
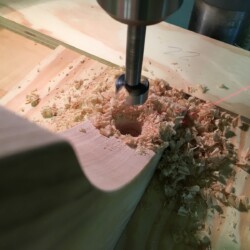
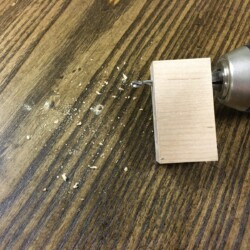
Boring clearance hole in ball foot blank with Forstner bit
Custom holding fixture for turning ball feet
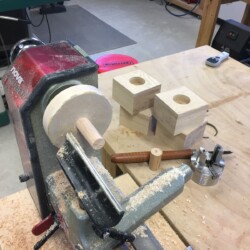
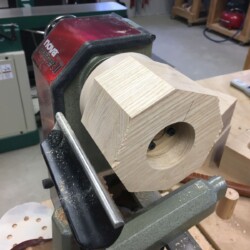
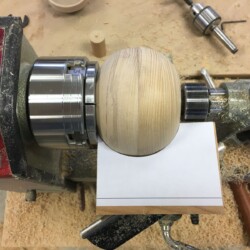
Ball foot blank mounted on lathe
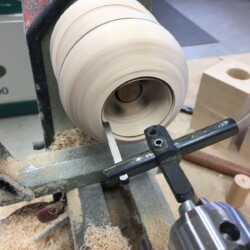
Enlarging leveling foot clearance hole with boring bar
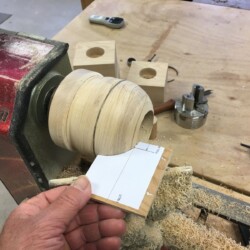
Ball foot reversed and mounted on scroll chuck
Ball foot profile turned to match template
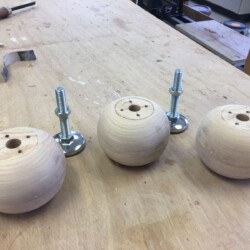
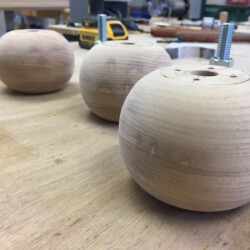
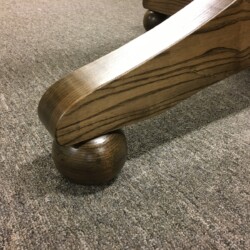
Ball feet completed and ready to mount
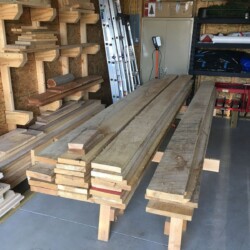
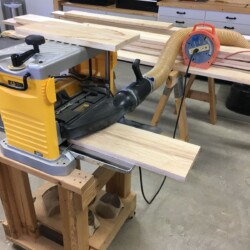
Preparing stock for leg and brace glue ups
Leg blank glue ups curing in clamps
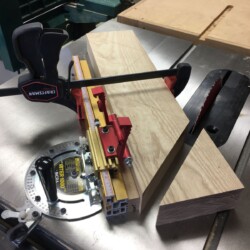
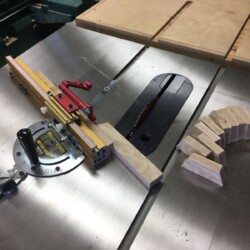
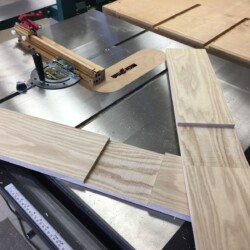
Cutting out braces with precision miter gage
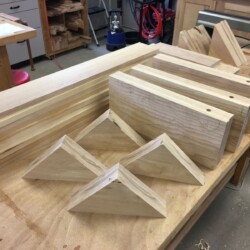
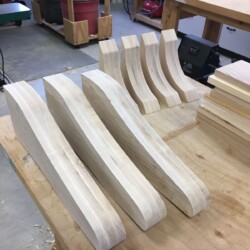
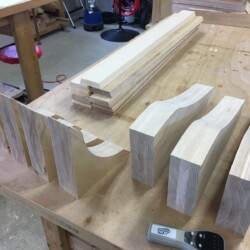
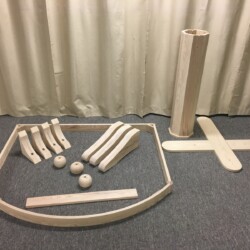
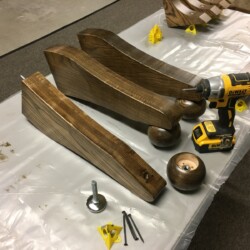
Leg and brace blanks ready for shaping
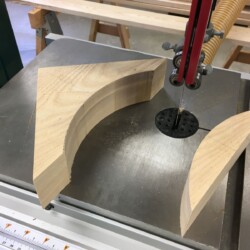
Cutting brace curve on the bandsaw
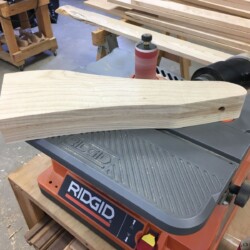
Smoothing bandsaw cuts with the reciprocating drum sander
Legs and braces ready for final operations
Cutting base column trim ring segments
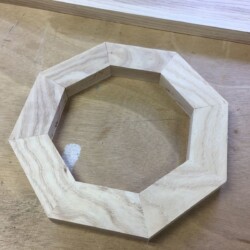
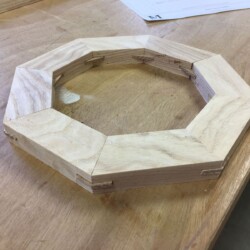
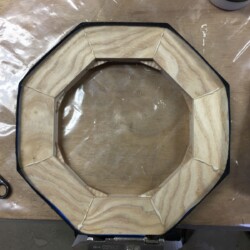
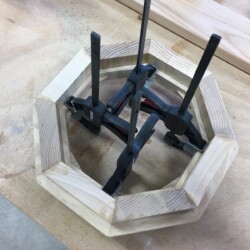
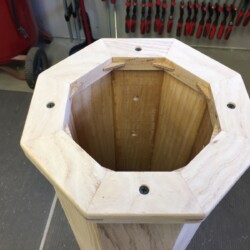
Base column trim ring dry fit
22.5 degree beveled segments for the hexagonal base column
Laying out mounting holes in base column segments prior to assembly
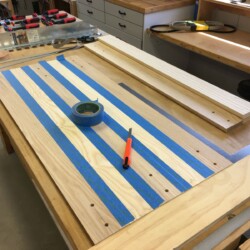
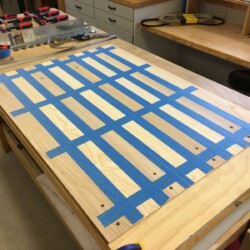
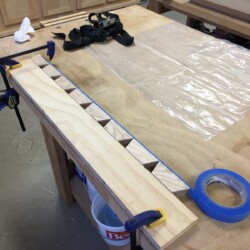
Segment glue up technique using painters tape living hinges
Careful alignment at this stage is critical
Beveled segments taped and ready
Dry fit test of beveled segments with painters tape living hinges
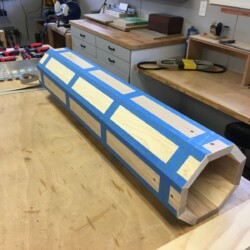
Beveled segments ready for glue
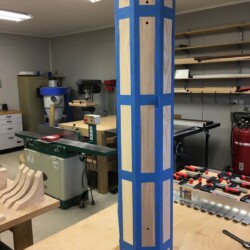
Band clamps provide uniform pressure around the hexagonal column
Plenty of glue squeeze out indicates ample glue in joints
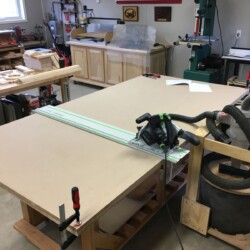
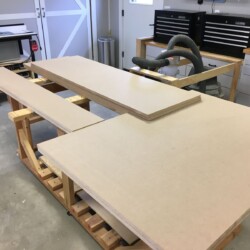
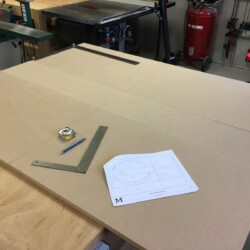
Breaking down 3/4 MDF for curved apron bent lamination jog
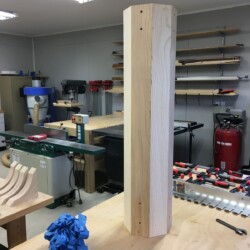
Completed base column with painters tape removed
Living hinge technique for base column trim ring assembly
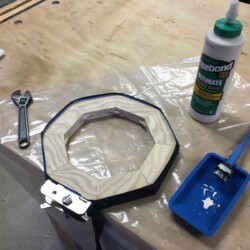
Base column trim ring curing in band clamp
Base column trim ring with splines inserted in each joint
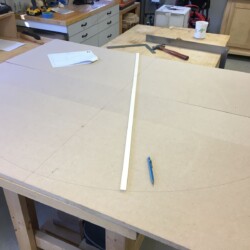
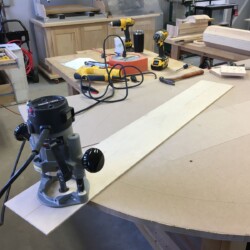
Laying out curves with shop made trammel
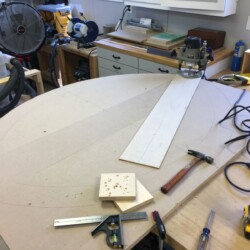
Routing first bending jig layer with router mounted on temporary trammel
Setup for routing the 33 1/4 radius curve
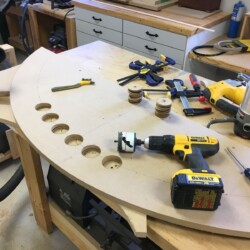
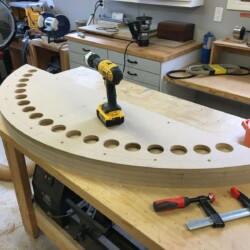
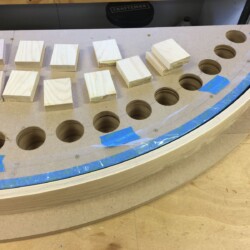
Drilling clamping holes with 2 1/4 diameter hole saw
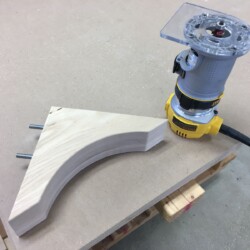
Duplicating curve on next layer with a flush trim bit
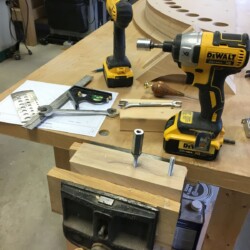
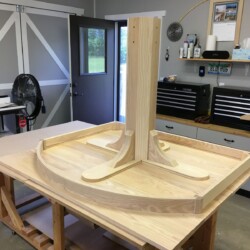
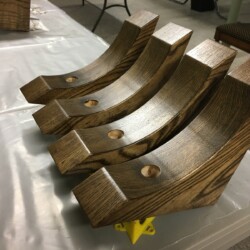
Installing hanger bolts in brackets and legs
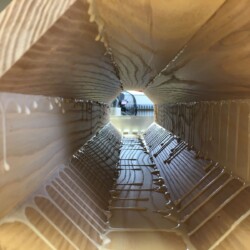
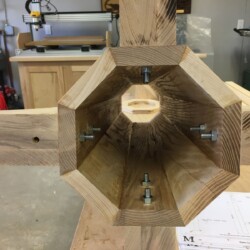
Hanger bolts inside column
Brackets temporarily attached to column
Brackets and legs temporarily attached to column
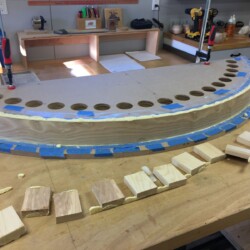
Protecting MDF on jig for easy cleanup
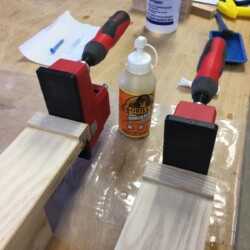
A few trial bent laminations with urethane glue
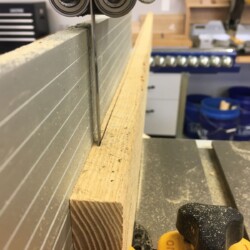
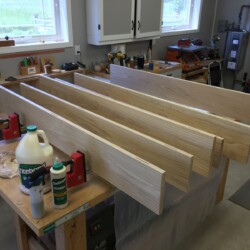
Resawing board for curved apron into six thin strips
Curved apron strips ready for glue and clamping
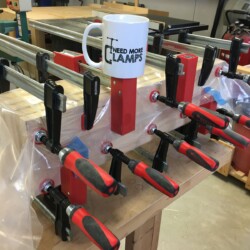
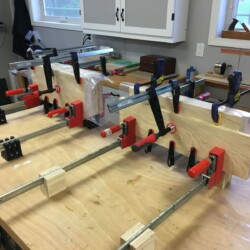
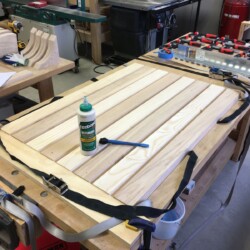
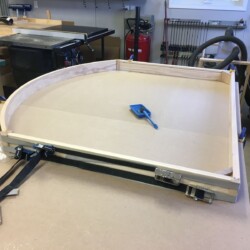
Curved apron in jig with 19 clamps to cure overnight
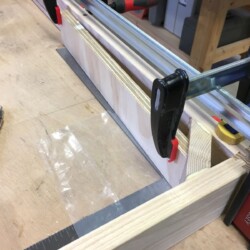
Lots of clamping pressure
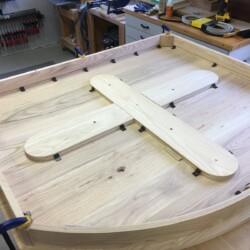
Cutting half lap joint on support cross
Easing edges with a palm router and roundover bit
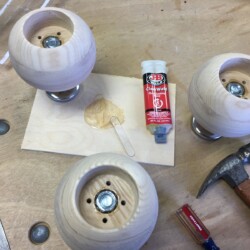
Filing down washers for ball foot assembly
Fixing washers and nuts in ball feet with two-part epoxy
moment of truth – unclamping cured curved apron
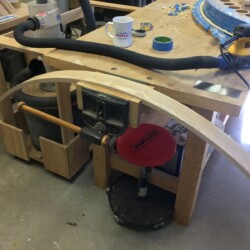
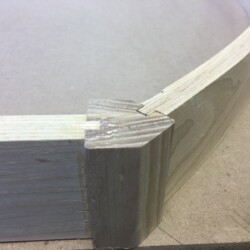
Curved apron with edges cleaned up on jointer and table saw
Minimal amount of springback = success
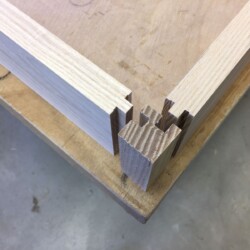
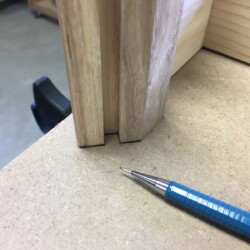
Square corner blocks for apron assembly
Novel clamping of corner blocks on apron subassembly
Angled corner blocks for apron assembly
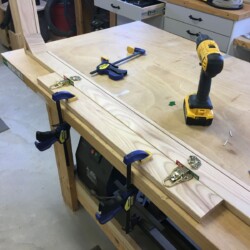
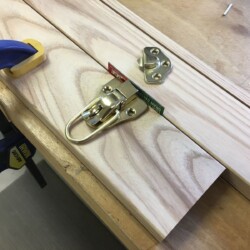
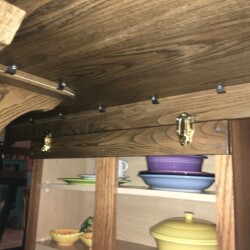
Attaching latches to ledger board and apron
Laying out apron subassembly for curved apron length
Marking curved apron length from layout plus stock for tenon
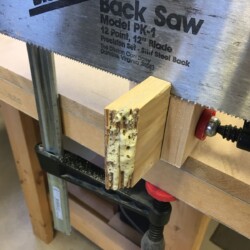
Cutting curved apron to length with guide and handsaw
Palm router and rabbeting bit to form curved apron tenons
Forming tenons on curved apron ends
Curved apron fit to angled corner blocks
Final assembly of apron subassembly
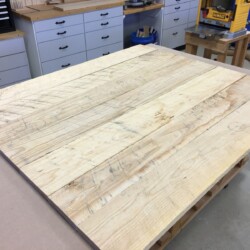
Laying out white ash boards for table top
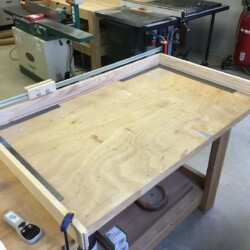
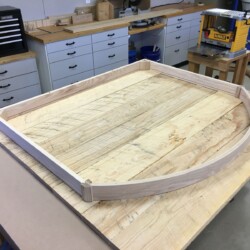
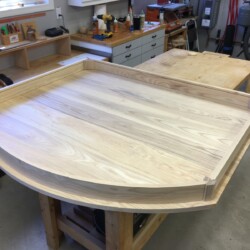
First look at apron subassembly on underside of table top boards
First look at column subassembly on table top boards
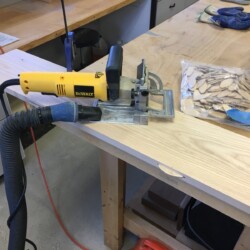
Biscuit jointer cutting slots for biscuits to help with vertical alignment during glueup
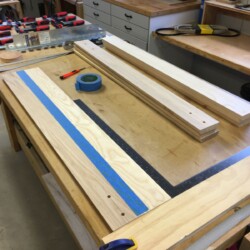
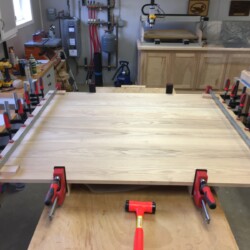
Table top boards positioned on parallel clamps, ready for glueup
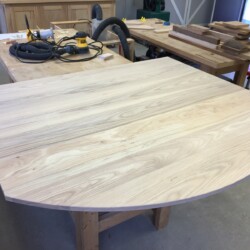
Table top glued up and curing in clamps
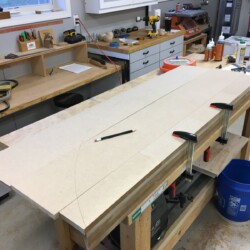
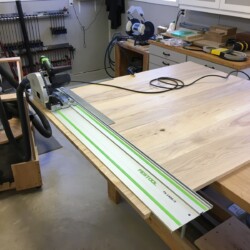
Using a tracksaw to trim straight edges of table top to final dimensions
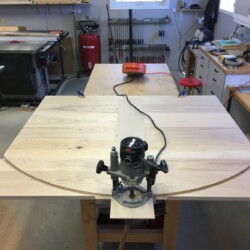
Using a custom tram and straight-cutting router bit to cut curved edge of table top
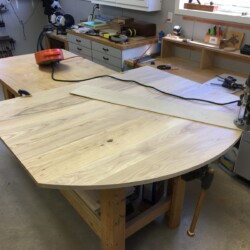
Curved edge of table top cut and ready for hand sanding
Perfect 1″ offset curve, based on final curved apron outside radius
Drill press setup to counterbore brackets for carriage bolts
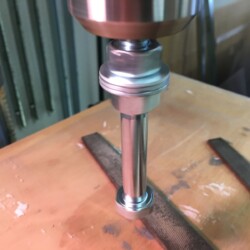
Forstner bit cuts a flat bottom counterbore on the angled surface
Cutting carriage bolts to the required length
Using four mini-clamps to position hexagonal endcap on column base
Endcap attached to column base with glue and screws
Layout and marking of Z-clip locations
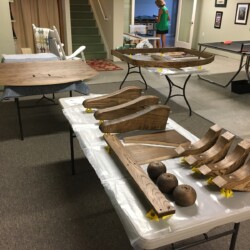
Components in basement finishing area
Final sanding of table top prior to finishing
Components with MinWax Dark Walnut stain applied
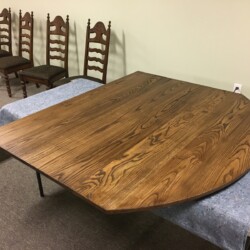
Table top partway into the finishing process
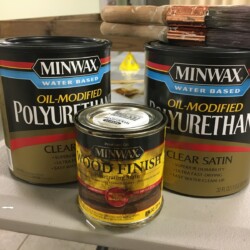
Finishing materials – MinWax Dark Walnut stain and Water-based Oil-modified Polyurethane in a satin sheen
Finished table top with four coats of polyurethane
Attaching ball feet to legs with four 3″ screws each
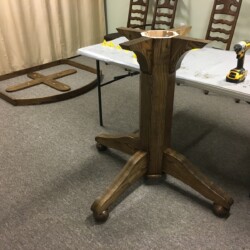
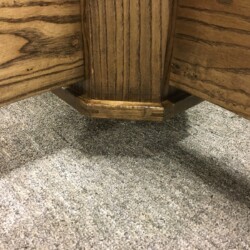
Pedestal subassembly, complete
Depth stop for drilling holes for #12 x 5/8″ screws for attaching Z-clips
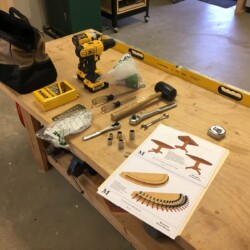
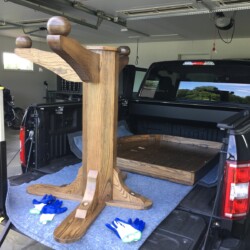
Tools and materials for delivery and final assembly
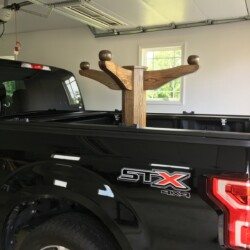
Temporarily assembled table in truck, ready for transport
Custom table attached to existing cabinet
Ledger board and latches detail
Jeff and Rob trying out 42″ bartop height table
Custom table and four bar height chairs accommodates four people comfortably
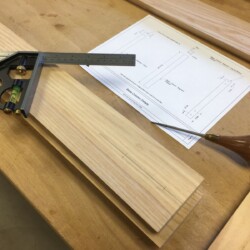
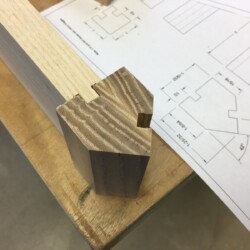
From the chosen 3D design in SketchUp, 2D construction drawings were created in SketchUp LayOut for use in the workshop
